Overview
Nextcloud is…
“… the most popular on-premises content collaboration platform you can download. It scales from a Raspberry Pi with 2 users to globally distributed installations with tens of millions of users at major hosting providers.”
Or,
“… an open-source, self-hosted cloud storage solution that provides users with control over their data, security, and customization options. It offers a range of features, including file sharing, synchronization, and collaborative editing, making it a viable alternative to commercial cloud storage services.”
It provides a file-sharing (like Dropbox, Google Drive, OneDrive, etc.) and collaboration platform that YOU control. You can use a cloud instance, or you can install it yourself, on-premise, with your own infrastructure and security posture. And they provide mobile apps to access content on the go!
QuantaStor is…
an Enterprise-grade Software Defined Storage platform that turns standard servers into multi-protocol, scale-out storage appliances and delivers file, block, and object storage. OSNexus has made managing enterprise-grade, performant scale-out storage (Ceph-based) extremely simple in QuantaStor, and able to be done in a matter of minutes. The differentiating Storage Grid technology makes storage management a breeze and for scale-out we’ve added storage class tiering capabilities that will position content into a specific storage class based on criteria (rules) that you set. Because you’re not paying differently for storage classes with QS like you do in AWS, it’s not quite the same as S3 Intelligent-Tiering. It’s more about proper resource utilization.
In this article I’m going to go through the process of installing Nextcloud in a single virtual machine using OSNexus QuantaStor (QS) Scale-out Object Storage as both Nextcloud primary storage and external storage. I will be covering the following:
- Configuration of a 6-node Scale-out Storage configuration on QS
- Installation of Nextcloud using QS Scale-out Storage as primary storage
- Configuration of Nextcloud external storage using QS Scale-out Storage
I will not be covering the following:
- Initial setup of QuantaStor
- Initial configuration of the QS Storage Grid
- Nextcloud node OS install (Ubuntu 24.04)
- Fault-tolerant/containerized Nextcloud deployment
At a Glance
There are lots of ways to install Nextcloud:
- Official VM (on-premise or cloud, purchased or downloaded)
- Manual (source) install
- Script install
- Unofficial virtual Appliance
- Snap packages
- Docker images
- More…
Because the installation of Nextcloud is not the primary focus of this article, and because I want to provide a repeatable, relatively easy way to get the install done, I’m going with the community edition via script. According to the GitHub readme:
“The Nextcloud VM — (aka Nextcloud Virtual Machine or NcVM) — helps you create a personal or corporate Nextcloud Server faster and easier. Fundamentally, NcVM is a carefully crafted family of *nix scripts which interactively guide you through a quality-controlled installation to obtain an A+ security-rated Nextcloud instance.”
Installing this way is not only simple, but the authors have added some system level services that can make managing the Nextcloud host easier. Namely, with the install I’ll be installing Netdata, Webmin and Adminer.
Activity Components
For this Proof of Concept, I’m using virtual machines running on VMware:
QuantaStor 6.5 – 6 x VM Storage Grid:
- vCPUs: 6
- RAM: 8GB
- Networking: Single 10GB connection with simple, combined front-end and back-end configuration
- Storage:
- 1 x 100GB SSD for QS install/boot
- 2 x 100GB SSDs for journaling
- 4 x 10GB SSDs for data
Nextcloud 30.0.1 – Single VM running Ubuntu 24.04 (minimized):
- vCPUs: 2
- RAM: 8GB
- Network: Single 10GB Network connection with a static IP address
- Storage: 1 x 30GB vDisk
QuantaStor Scale-Out Storage Configuration
Before we get into the scale-out configuration there are a couple Nextcloud nuances that will help with configuration.
Nextcloud implements the AWS SDK for PHP from Amazon which doesn’t support custom storage classes or regions, so you MUST use the typical AWS S3 storage classes and regions. Not all supported classes seem to be present in the version of the SDK that is used with Nextcloud 30.0.1. At the time of this writing, here are the classes that are both in the SDK code and supported in QuantaStor, and therefore expect to be safely used:
- STANDARD
- INTELLIGENT_TIERING
- STANDARD_IA (Standard – Infrequently Accessed)
- ONEZONE_IA (One Zone – Infrequently Accessed)
- REDUCED_REDUNDANCY (Deprecated in favor of Standard)
The Amazon Glacier technology uses some dehydrate/hydrate technologies that aren’t supported at the time of this writing and therefore can’t be used. They have been omitted from the QuantaStor interface so as not to cause confusion.
Here are the AWS regions I found in the SDK code as well as in QS and therefore expect to be safely used:
| us-east-1 us-east-2 us-west-1 us-west-2 ca-central-1 me-south-1 | eu-central-1 eu-west-1 eu-west-2 eu-west-3 eu-north-1 sa-east-1 af-south-1 | ap-east-1 ap-south-1 ap-southeast-1 ap-southeast-2 ap-northeast-1 ap-northeast-2 ap-northeast-3 |
Next, Nextcloud implements the Guzzle, PHP HTTP client for HTTP/HTTPS activity. At the time of this writing the Nextcloud implementation of Guzzle doesn’t allow for mutual TLS (mTLS), which uses client certificates to allow the server (in this case QuantaStor) to verify that the client is authorized to use the service. It’s not a very popular configuration, but for those requiring a very strong security posture it could be a show stopper.
If we were creating a scale-out object store on QuantaStor for real, we’d most likely jump over to the OSNexus Scale-out Solution Designer which allows you to size up all the variables required for a production deployment and get a real idea of what we need to do. That exercise is overkill for this article, but if you’re doing this for real and understand how object storage works it is a valuable tool.
Without further ado, let’s get to it…
Note: Many of the images in this post won’t be easily read. Clicking on them will open a full-size image that is much more digestable.
ACTION: Go to the QuantaStor Web UI

Note the Tasks pane at the bottom of the page. At the end of each step (after clicking OK) watch the Tasks pane to determine when that task is completed before moving to the next step. In some cases, the initial task will spawn additional tasks and move the initial task down the list. You may need to scroll down in the Tasks pane to determine when all the tasks for a step have been completed. Depending on the size of your window, the Tasks pane may be obscured by the Getting Started dialog or another dialog. In this case you can close the dialog and return to it once the tasks are completed.
ACTION: Click the Getting Started button in the top-right of the page

ACTION: In the Getting Started dialog, click Setup Storage Pool – Scale-out Object
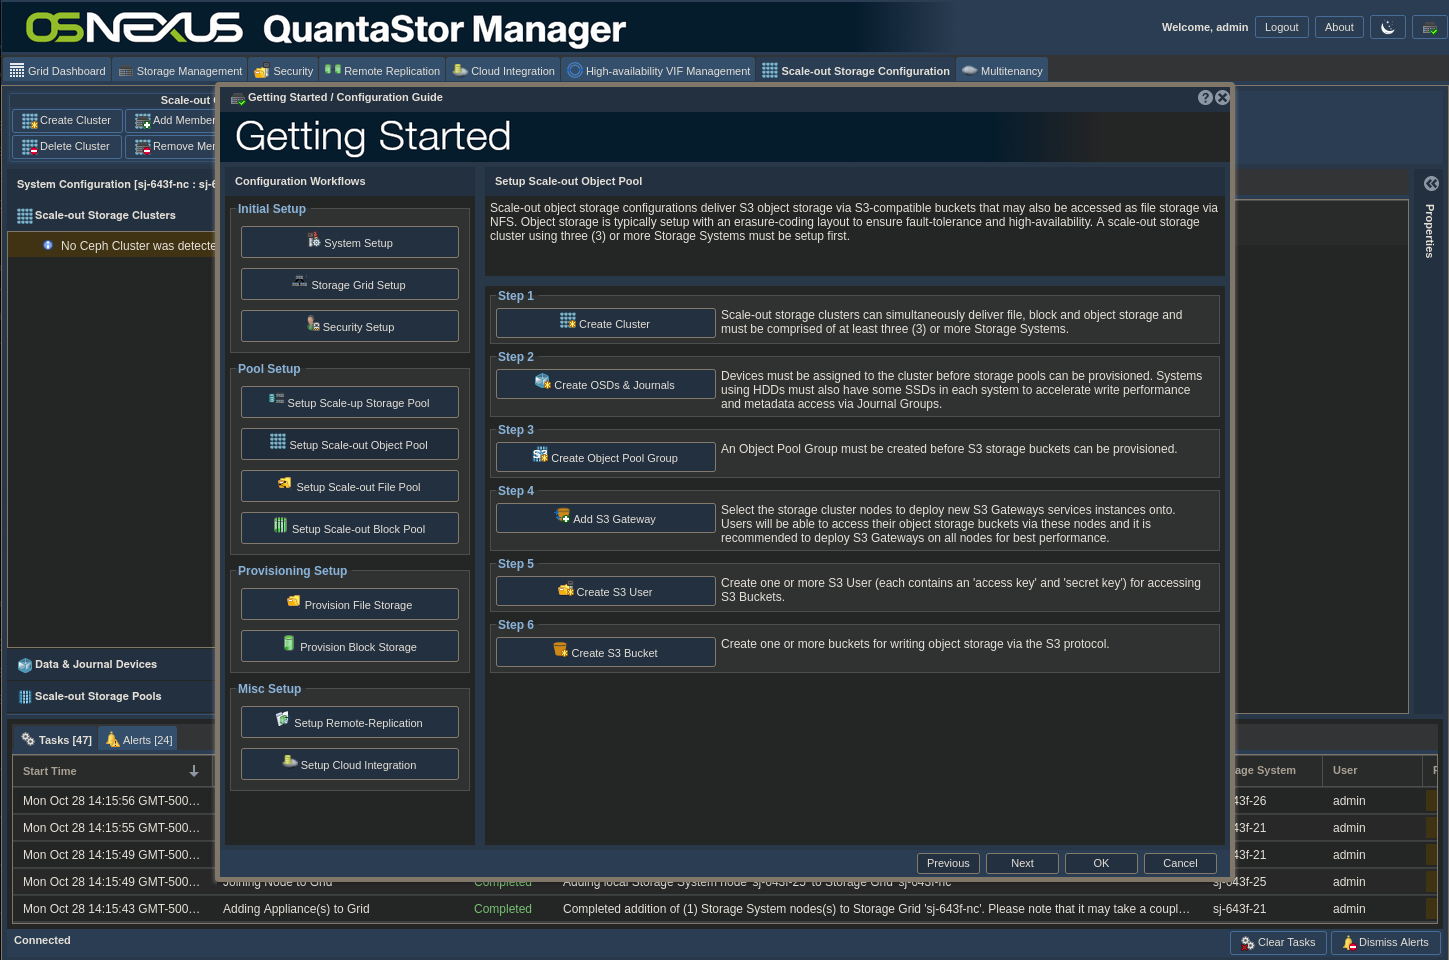
ACTION: Click Create Cluster
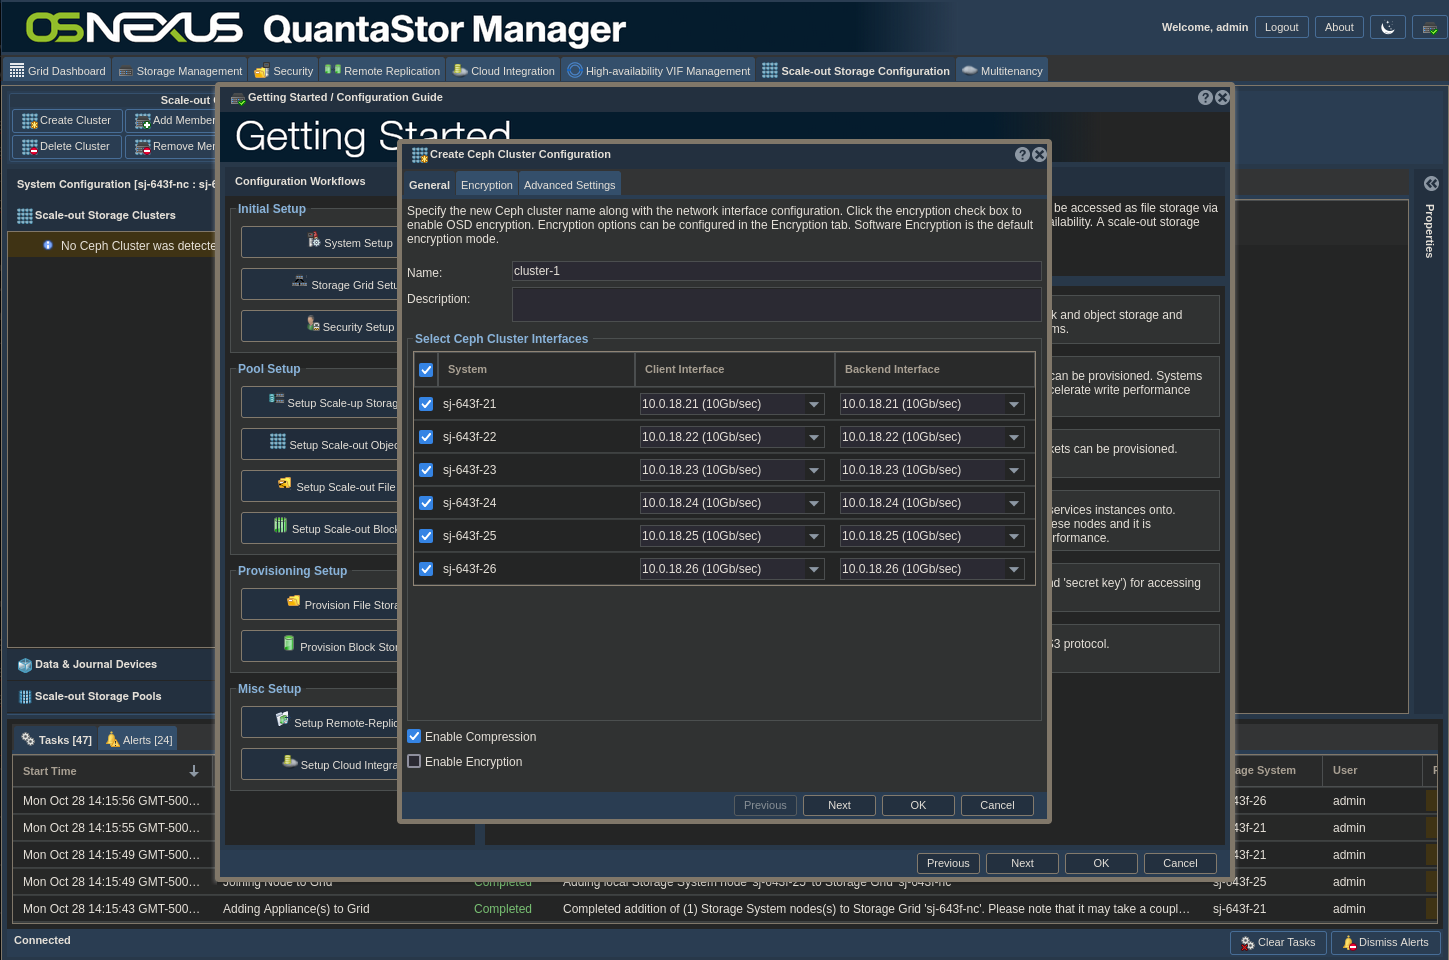
- Select all systems
- Check Enable Compression
- Check Enable Encryption (If you’re sure you want/need it)
- Click OK
- A dialog comes up to make sure your compression and encryption settings are what you want because you can’t change them later.

- Click Yes
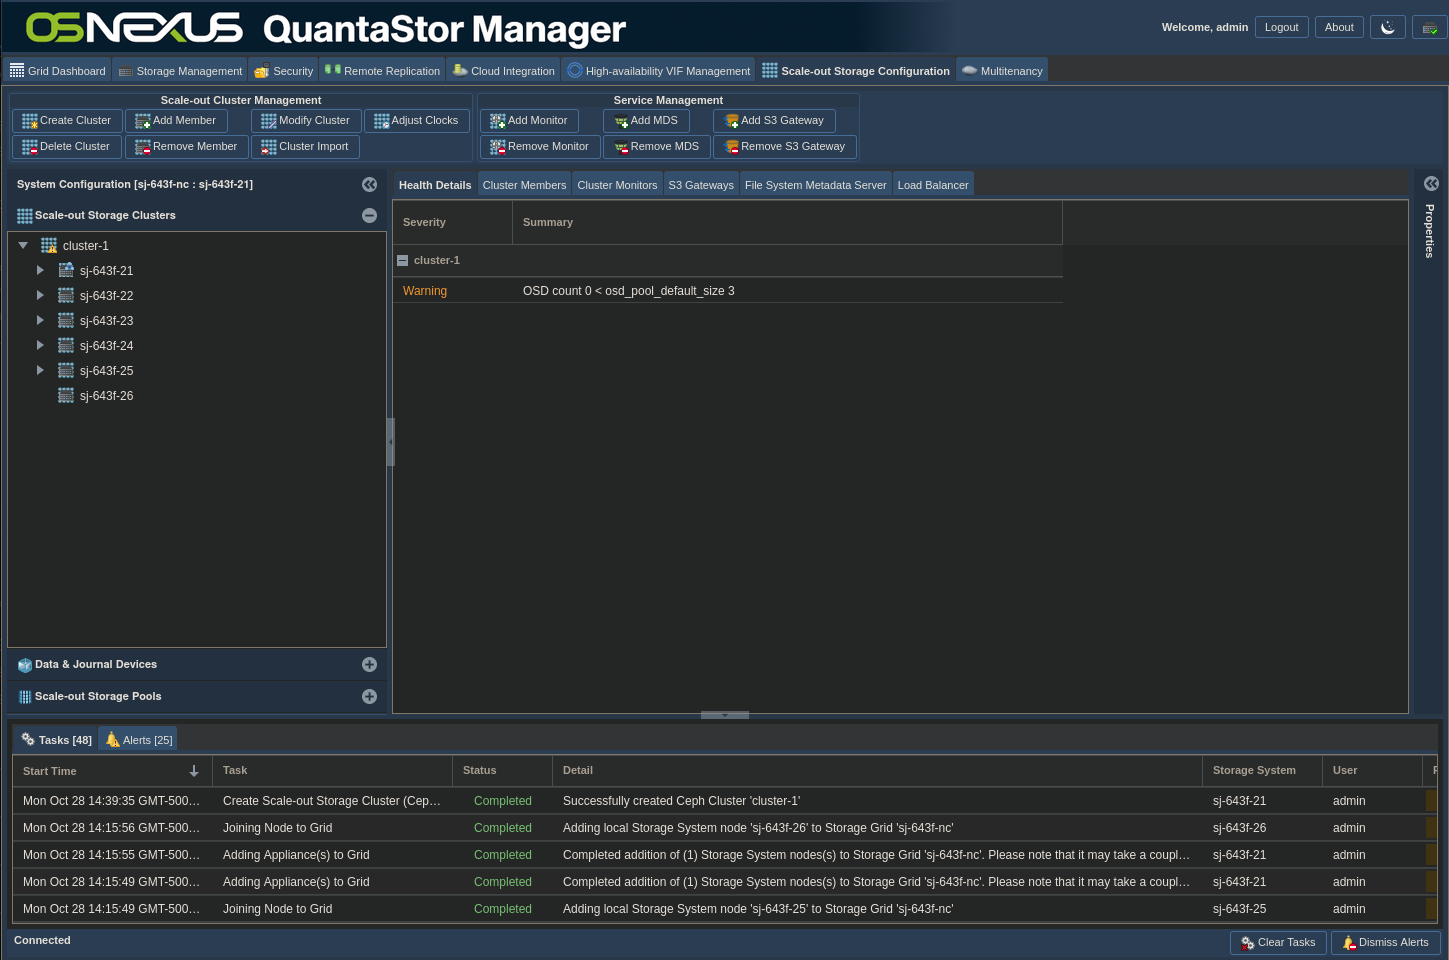
Note: A warning may appear for your cluster shortly after creation. This is due to backend cluster processes not being fully finished. The warning will clear up on its own after a few minutes.
ACTION: Go back to the Getting Started dialog, click Setup Storage Pool – Scale-out Object and then click Create OSDs & Journals

- Click the Auto Config button which intelligently divvys the disk resources between Data/OSD Devices and Journal Group Devices

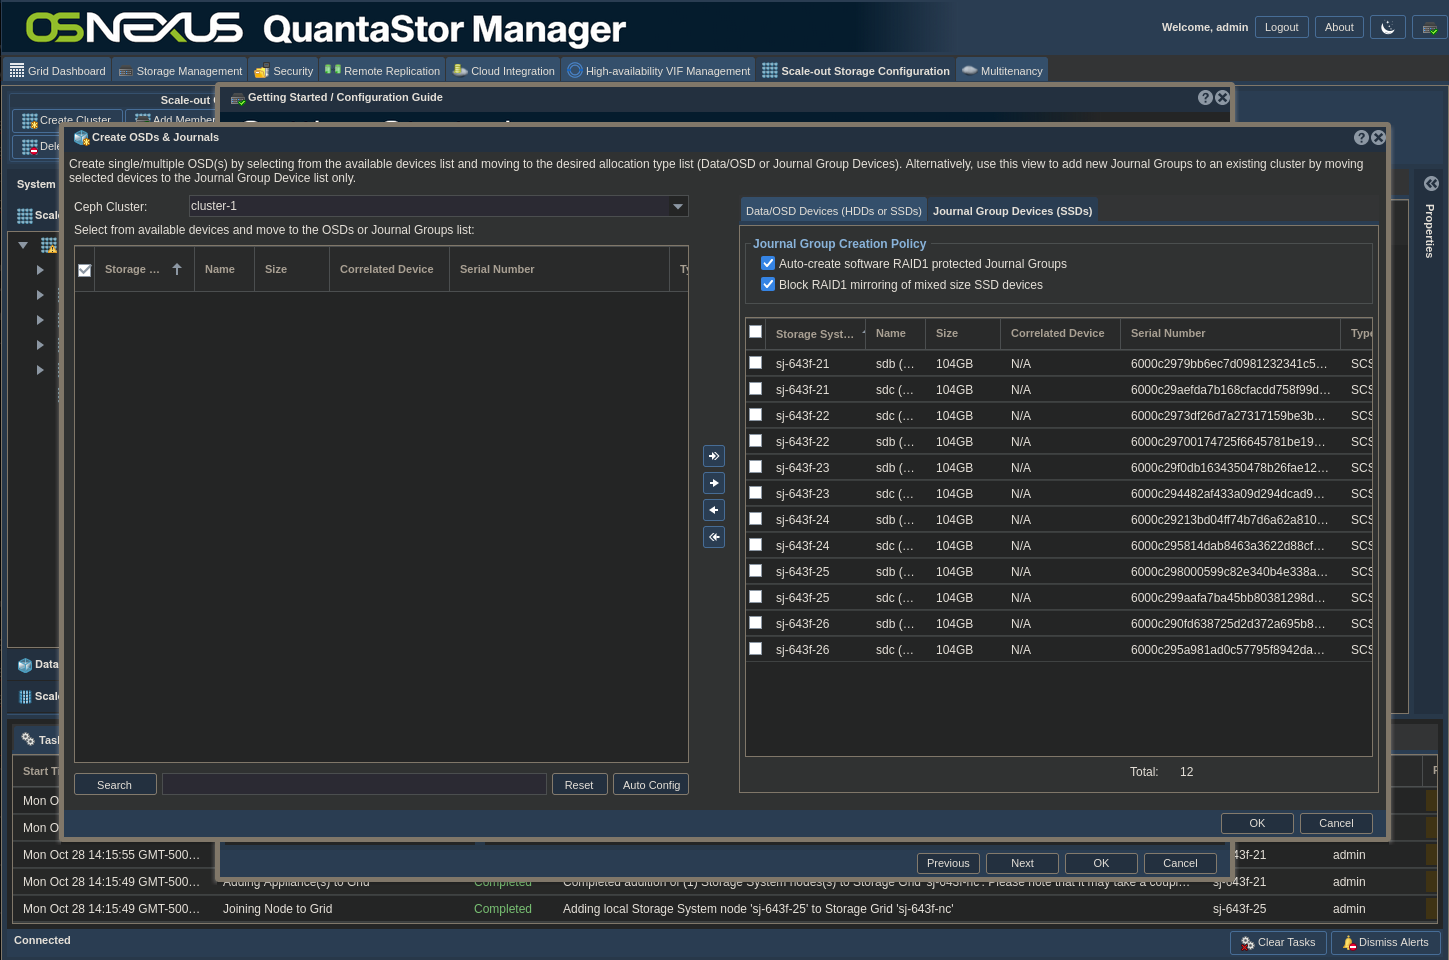
- Validate that the proper disks are in the proper tabs in the right pane
- Click OK
Note: This process will take a little while to complete, depending on the size of your cluster. If you close the Getting Started dialog and select the Data & Journal Devices element in the left pane you can monitor the progress both in the Main Content Pane as well as by expanding the tree view in the Navigation Pane.
ACTION: Go back to the Getting Started dialog, click Setup Storage Pool – Scale-out Object and then click Create Object Pool Group
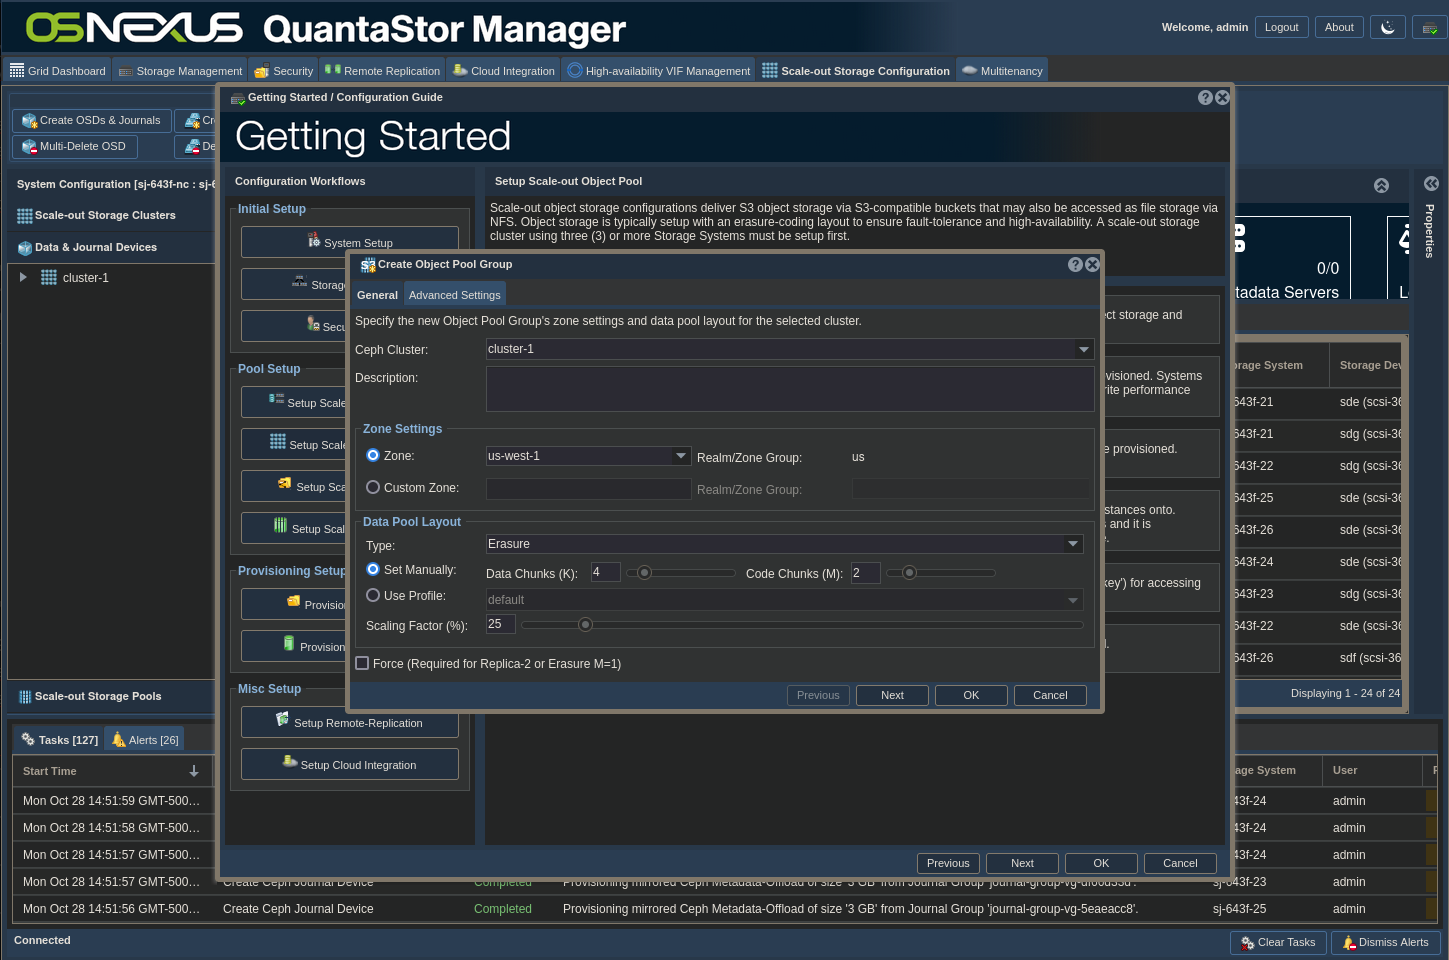
- Select Zone – Per the information at the beginning of this section, AWS region names must be used. The Nextcloud software stack doesn’t support custom zone names.
- Set Data Pool Layout configuration
- For Type, select between Erasure Coding and Replica protection
- If selecting Erasure Coding, set the number of Data Chunks and Code Chunks. A good rule of thumb is to use the number of OSD disks per node for Data Chunks and the number of Journal devices per node for Code Chunks. In my case, I have 4 x OSDs per node and 2 x Journal devices per node, so I used 4 Data Chunks and 2 Code Chunks. In essence, K is the number of data elements while M is the number of parity elements.
- For Scaling Factor, the easiest configuration for this is to divide 100 by the number of Storage Classes you plan to use on your system. Let’s say you plan to have the following 4 Storage Classes, Standard, Standard-IA, Glacier and Deep Archive. In that case you would set the Scaling Factor to 25%.
- For Type, select between Erasure Coding and Replica protection
- Click OK
ACTION: Go back to the Getting Started dialog, click Setup Storage Pool – Scale-out Object and then click Add S3 Gateway
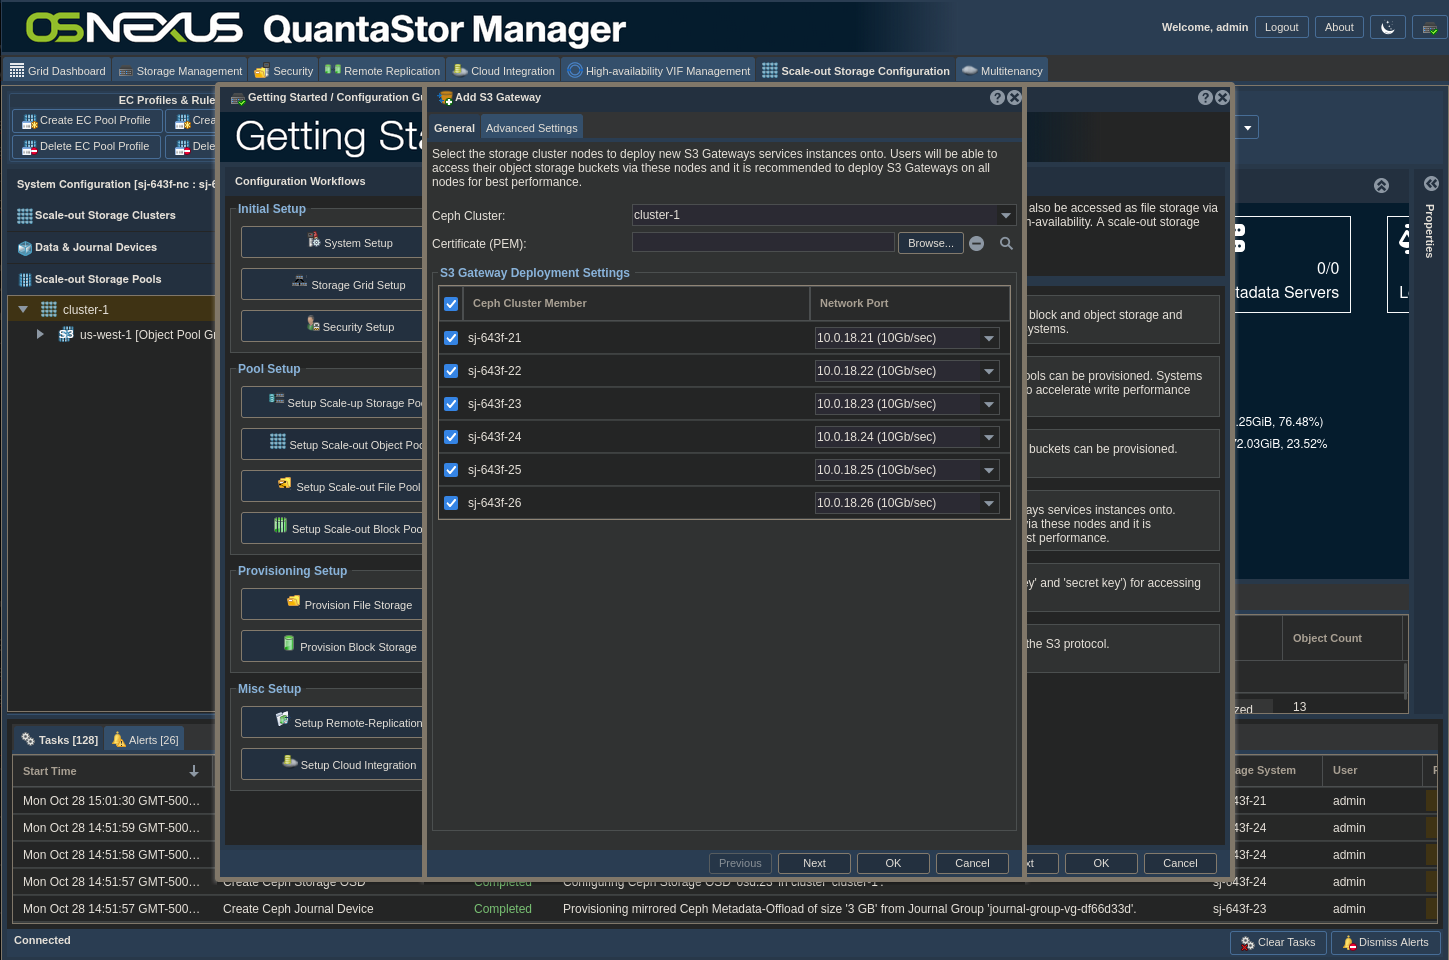
- Select all the nodes in your cluster
- If you plan to implement TLS (HTTPS) to access your object storage, select a Certificate Authority (CA) signed Certificate. The certificate used must be made to be trusted by your Nextcloud server for the object storage to be usable. There does appear to be a self-signed cert configuration for Nextcloud, but I haven’t tested it.
- Click Next
- For S3 Gateway Mode, this is where you determine if you want to implement TLS (HTTPS). By default, QuantaStor uses a load balancer in front of each S3 Gateway. Remember, adding TSL encryption increases overhead and potentially reduces performance. Don’t encrypt for no reason! For the purposes of this article, I’m keeping it simple and using the first option, HTTP → HTTP. I have also been successful using HTTPS → HTTP but am not using it for this.
(If an HTTPS configuration is something you’d like to see a blog on, please add a comment requesting it.)
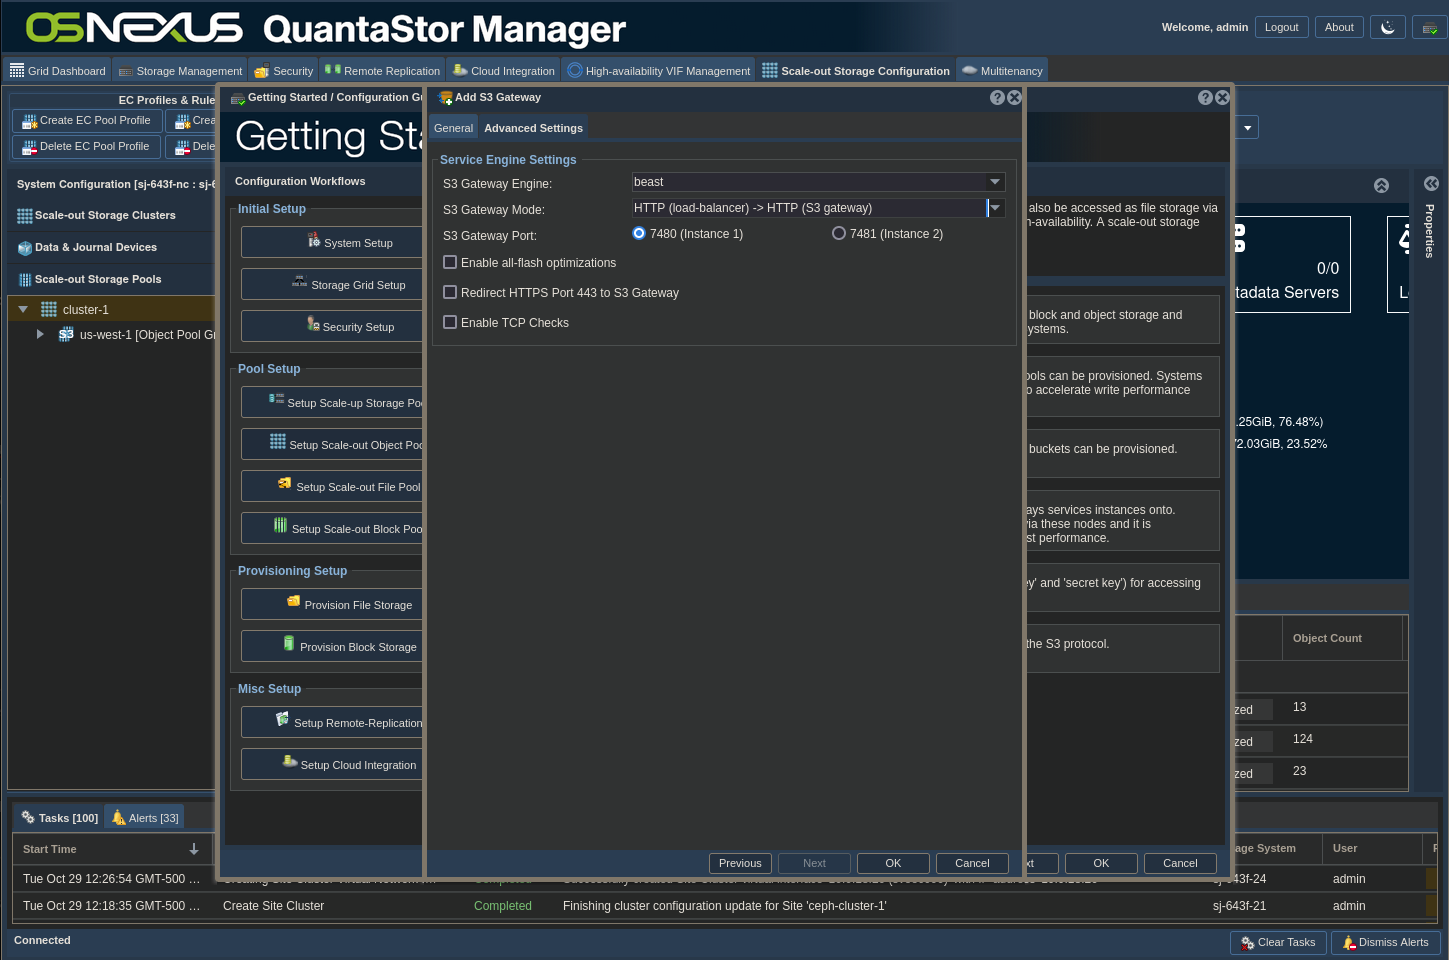
Your options are the following:- HTTP (load-balancer) → HTTP (S3 gateway)
- The load balancer only accepts unencrypted HTTP traffic
- The S3 gateway only accepts unencrypted HTTP traffic
- Insight:
- Traffic between Nextcloud and QuantaStor will NOT be encrypted.
- Traffic from the load balancer (QS node) to the S3 Gateway (QS node) will NOT be encrypted.
- HTTPS (load-balancer) → HTTP (S3 gateway)
- The load balancer only accepts encrypted HTTP traffic
- The S3 gateway only accepts unencrypted HTTP traffic
- For Nextcloud use, this mode requires you to provide a CA-signed Certificate
- Insight:
- Traffic between Nextcloud and QuantaStor WILL be encrypted.
- Traffic from the load balancer (QS node) to the S3 Gateway (QS node) will NOT be encrypted.
- HTTPS (load-balancer) → HTTPS (S3 gateway)
- The load balancer only accepts encrypted HTTP traffic
- The S3 gateway only accepts encrypted HTTP traffic
- For Nextcloud use, this mode requires you to provide a CA-signed Certificate
- Insight:
- Traffic between Nextcloud and QuantaStor WILL be encrypted.
- Traffic from the load balancer (QS node) to the S3 Gateway (QS node) WILL be encrypted.
- HTTP (S3 gateway, no load-balancer)
- The S3 gateway only accepts unencrypted HTTP traffic
- Insight:
- Traffic between Nextcloud and QuantaStor will NOT be encrypted.
- HTTPS (S3 gateway, no load-balancer)
- The S3 gateway only accepts encrypted HTTP traffic
- For Nextcloud use, this mode requires you to provide a CA-signed Certificate
- Insight:
- Traffic between Nextcloud and QuantaStor WILL be encrypted.
- HTTP (load-balancer) → HTTP (S3 gateway)
- Click OK
ACTION: Go back to the Getting Started dialog, click Setup Storage Pool – Scale-out Object and then click Create S3 User

- Set Username
- Set Display Name
- Set Email Address
- If you have an Access Key and Secret Key you can enter them, otherwise leave Auto-generate Access and Secret Key checked. Unlike the AWS console, you always have access to your keys in the QuantaStor console
- Click OK
ACTION: Go back to the Getting Started dialog, click Setup Storage Pool – Scale-out Object and then click Create S3 bucket

- Enter a bucket name (AWS naming conventions apply)
- Select a User to own the bucket
- Note: The Advanced Settings tab is where you can access initial object locking, governance and compliance mode settings. We won’t be using them for this activity.
- Click OK
This concludes the activity of creating the Scale-out Object Storage cluster using the Getting Started dialog.
External Storage Bucket
At this point, the Scale-out Object Storage cluster has been created with a bucket called primary that is immediately usable. While we’re configuring QS, let’s create a second bucket to use used with the External Storage functionality in Nextcloud.
- In the main QS web UI, select the Scale-out Storage Configuration Context Tab at the top of the window.
- In the Navigation Pane on the left, select the Scale-out Storage Pools section
- If necessary, expand your cluster to show your us-west-1 Object Pool Group
- Left-click us-west-1 to select it then right-click it and click Create S3 Bucket
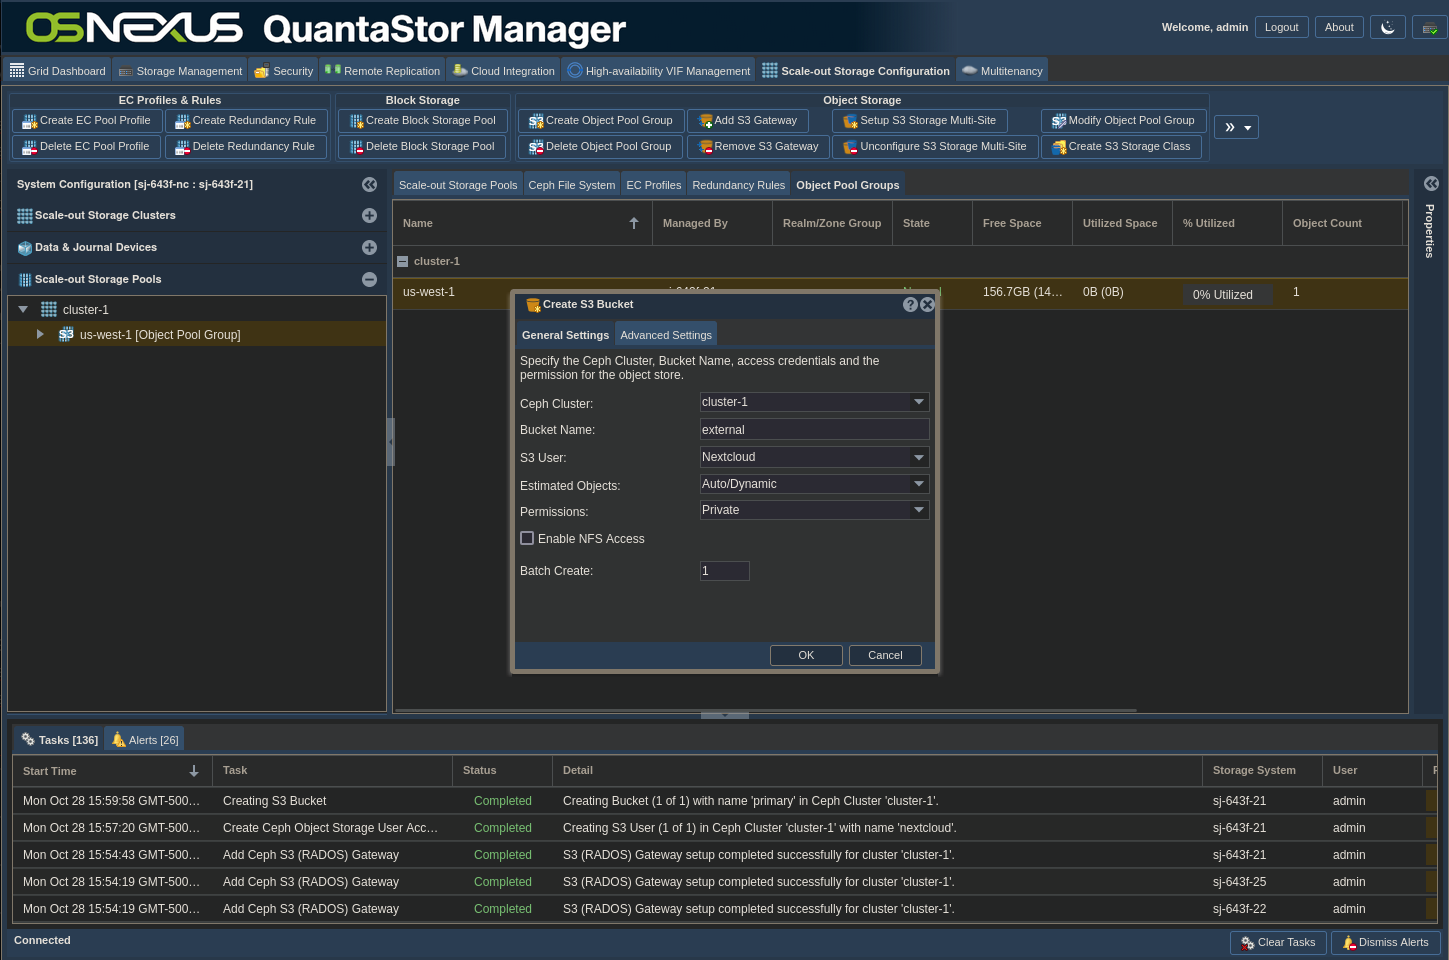
- Enter “external” as the bucket name
- Click OK
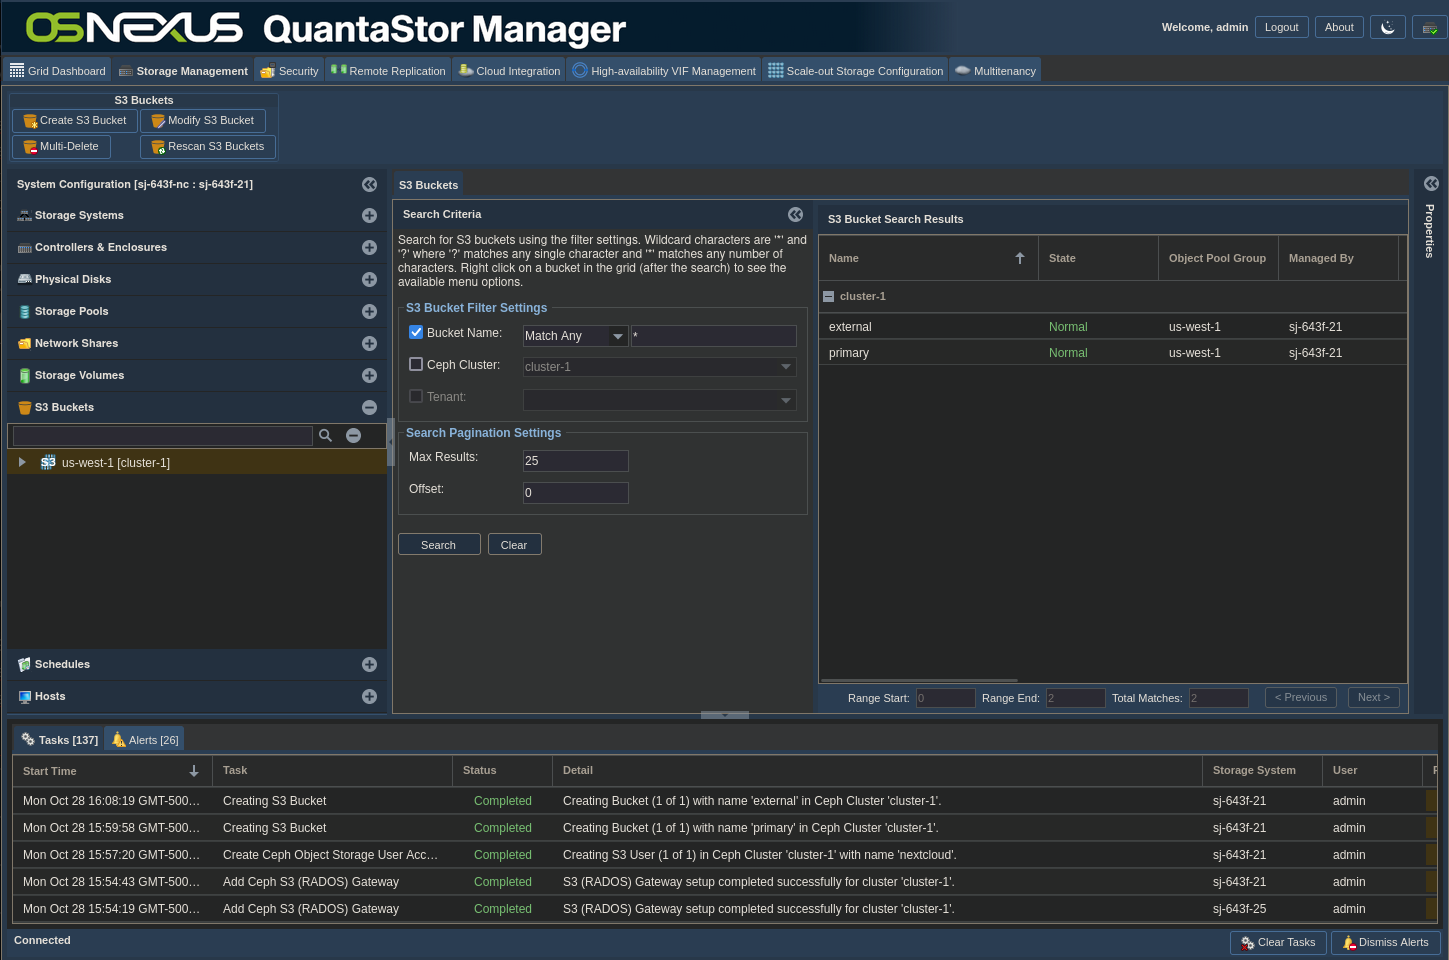
Now let’s take a look at the buckets that we’ve created.
- To show the buckets, select the Storage Management Context Tab.
- In the Navigation Pane, select the S3 Buckets section
- Because the number of buckets that can be created could be huge, the interface is designed to search rather than list. Make sure the proper zone/cluster is selected on the left. The main pane with the search interface defaults to a wildcard search, so just clicking the Search button should show the buckets that we created.
Let’s now look at where in the interface you can go to determine what ports we’re going to want to use for Nextcloud to access the storage.
- In the main QS web UI, select the Scale-out Storage Configuration Context Tab.
- In the Navigation Pane, select the Scale-out Storage Clusters section
- Expand the cluster you’re interested in, expand the first node and click on the Rados S3 Gateway entry named rgw.<hostname>.
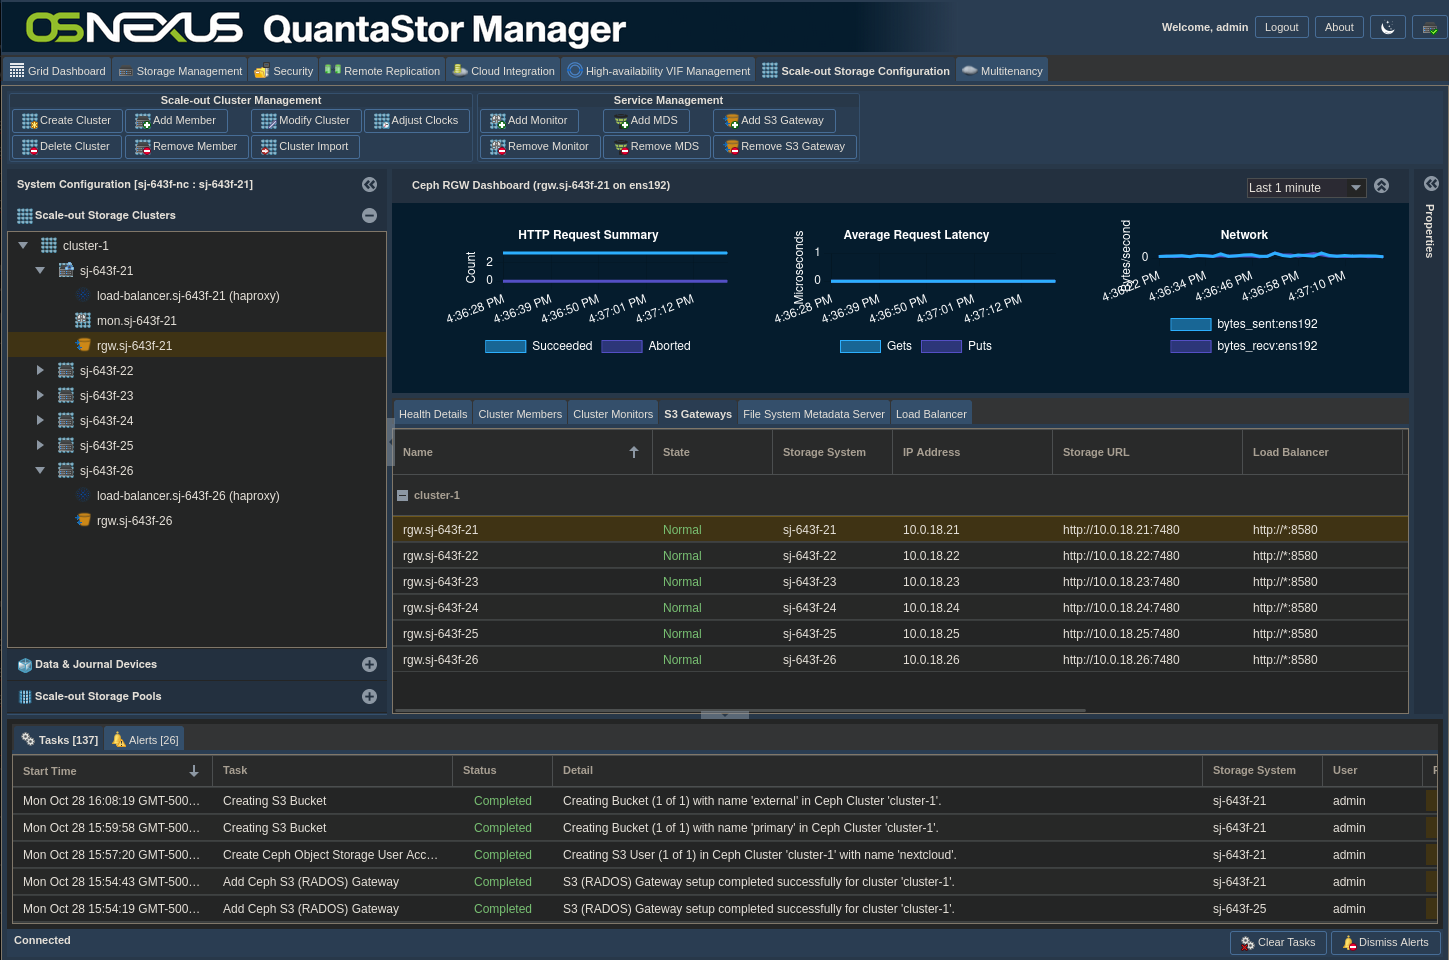
- In the Main Content Pane you’ll see a list of your nodes and the 5th and 6th columns are the ones you’re interested in.
- The 5th column is the Storage URL and has the port number that the gateway is listening on. If you followed what I did, the port is 7480. Because I set my gateway mode to HTTP → HTTP, this is an unencrypted port (also noted by the “http” at the beginning of the URL. If you connect to this port, it will work, but you’ll have ALL of your storage traffic going through a single node with no fault tolerance, which defeats the purpose of having a scale-out cluster. We’ll delve into this later.
- The 6th column is the Load Balancer address. Because of my gateway mode selection the only difference between this address and the Storage URL is the port, which, again if you followed my config, is 8580 and is, again, unencrypted. Connecting to this port will allow your traffic to be distributed across all the nodes in the cluster, which is closer to what we want. Nextcloud will send traffic to port 8580 and the load balancer will determine which host to use and send the traffic to port 7480 on that host.
Object Storage Auto-tiering
Before we move on to the Nextcloud install, let me show off a really cool feature of QuantaStor with respect to Scale-out Object Storage. First, we’ll add a second storage class for the object storage pool and then we’ll add an Auto-Tiering rule that will push the traffic that we determine into a different storage class.
- If you followed along in the previous part where we found the ports we want to use, you’re already in the right spot. If not, we will start in the Scale-out Storage Configuration Context Tab and the Scale-out Storage Clusters section in the Navigation Pane.
- Left-click on the cluster to select it, then right-click on the cluster and select Create S3 Storage Class
- Per the information at the beginning of this section, Nextcloud’s object storage stack can only use AWS storage classes, so we can’t set a name manually. I’m using STANDARD_IA (Standard, Infrequently-accessed) and will make it a Replica-3 type with a 25% scaling factor.
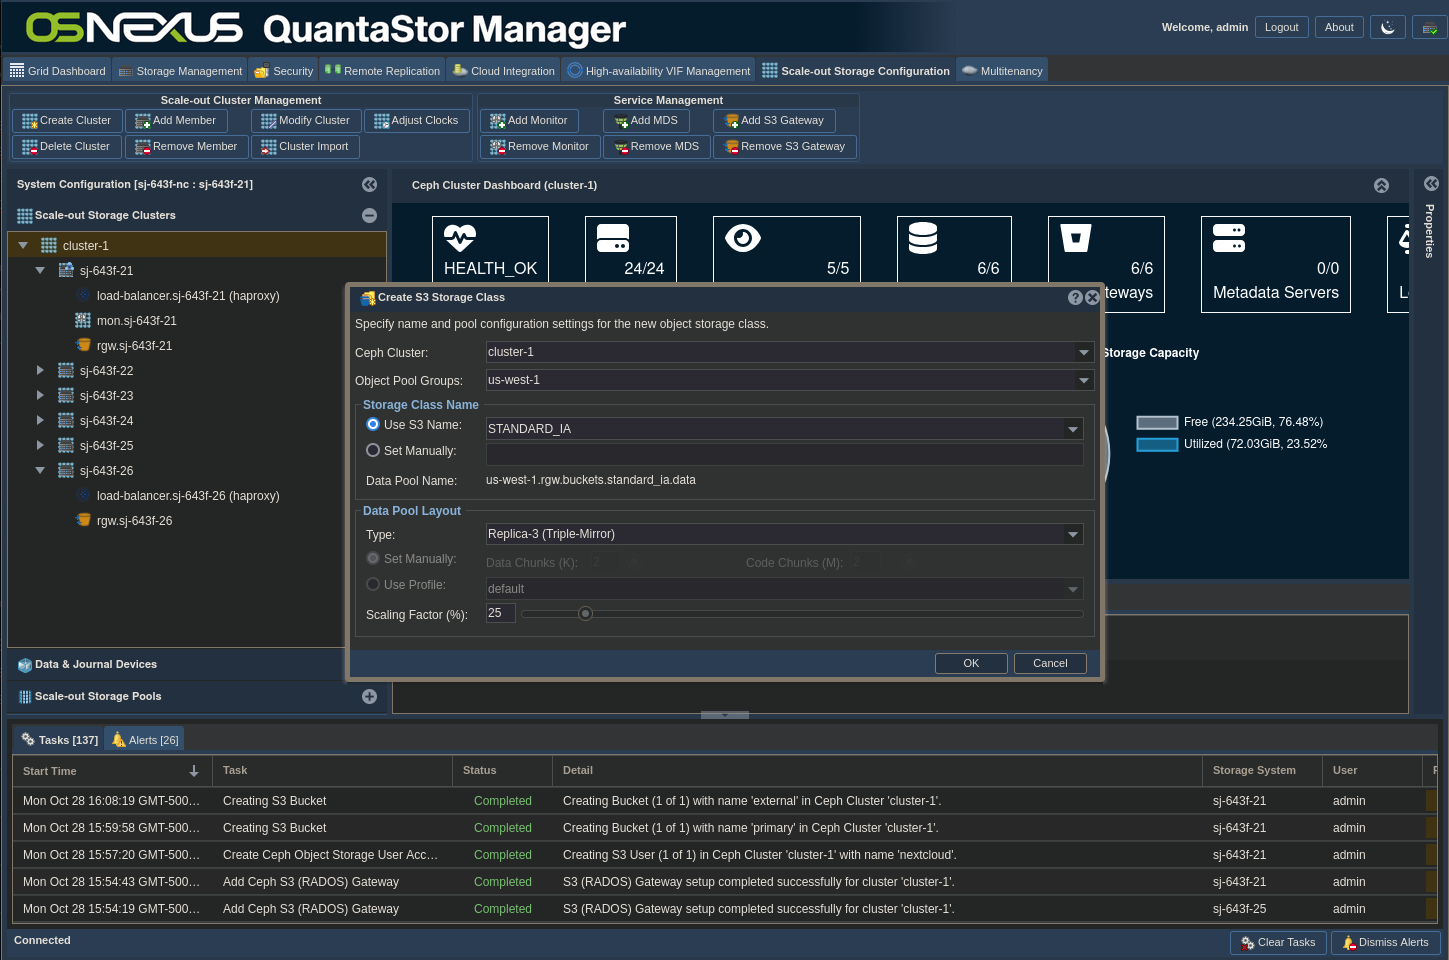
- Click OK
Since it’s more efficient to triple-mirror (our STANDARD-IA storage class) very small files rather than calculating parity on them with erasure coding (our STANDARD storage class), we’ll create a rule to automatically force small files to the STANDARD-IA class.
- After the Storage Class creation task is complete, right-click the cluster you created the new Storage Class on and select Add/Remove Storage Class Auto-Tiering Rules.
- Set Storage Class to STANDARD_IA
- Set Pattern Match to “*”
- Set Capacity Operator to “<”
- Set Capacity Threshold to 128 KiB
- Check Force for Override User Specified Storage Class
- Click Add
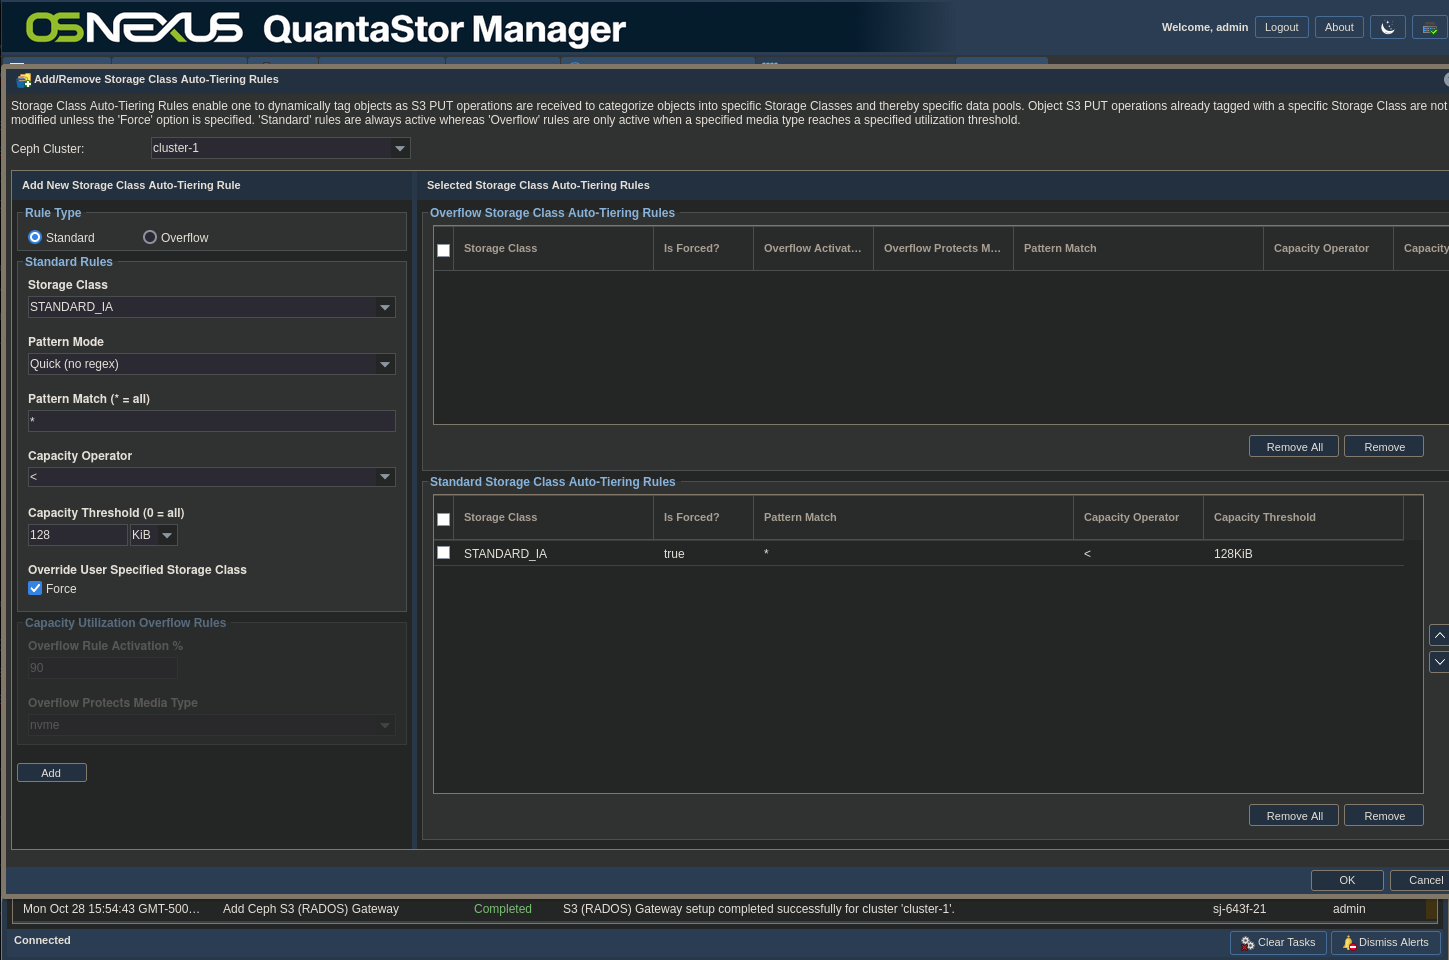
- Click OK
Since we haven’t added any files to our object store yet, there’s nothing to show the effect of this config at this time. We’ll revisit this after the Nextcloud install.
Access Keys
One more thing… Let’s look at where in the interface you go to find your Access Key and Secret Access Key. You’ll need them to configure Nextcloud as well as to test your object storage configuration.
- In the main QS web UI, select the Security Context Tab at the top of the window
- In the Navigation Pane, select the S3 Users & Tenants section
- Expand the us-west-1 cluster and click on the nextcloud user that we created
- Right-clicking it, click Manage/View S3 User Access Keys <picture 21 – 22>
- Here you can either show the keys and copy them or click the Copy to Clipboard button to do both in one fell swoop.

- Unlike the AWS console where you only have access to your keys at creation time, in QuantaStor you can access them whenever you want. So you don’t necessarily need to store them securely for the long term (although for a production deployment I definitely would). For ease of access if this is a test/PoC build, I’d paste them into a text document for easy access.
You’ve now completed the configuration of your Scale-out Object Storage on QuantaStor. Before we move on, and as lackluster as it will be, let me go over how you can test your object store from the command line. For this, I’m going to use the AWS CLI v2 (https://aws.amazon.com/cli/). It’s available on all platforms and is easy to install. Amazon has good documentation, so I’m not going to go over it here. If you want to use another S3 browser, by my guest. I assume the tool works the same on all platforms, but I’ll be using the Linux version. A good place to test from could be the VM you have for the Nextcloud install. Once installed, we can use it to test/browse our object store. The AWS CLI uses the concept of a profile, so the first thing you need to do is create a profile. At a command prompt on the system you’ve installed the AWS CLI v2 on, running the aws configure command will interactively allow you to create the profile.
$ aws configure --profile qsSOOS
AWS Access Key ID [None]: A6AXJGIR7LRRNSETYEHD
AWS Secret Access Key [None]: hxBZHv1fqtRo87CqEbGTVCG0Yt25deveIDj6mwBu
Default region name [None]: us-west-1
Default output format [None]:
In addition, we’ll set the version to use for signatures:
aws configure --profile qsSOOS set s3.signature_version s3v4Running the following will show you the profile you just created:
$ aws configure list --profile qsSOOS
      Name                    Value             Type    Location
      ----                    -----             ----    --------
   profile                   qsSOOS           manual    --profile
access_key     ****************YEHD shared-credentials-file
secret_key     ****************mwBu shared-credentials-file
    region                us-west-1      config-file    ~/.aws/config
Now we can query the buckets. The following two commands should return NO OUTPUT – like I said, lackluster! If there is any output, that means something’s not configure correctly.
$ aws --profile qsSOOS --endpoint-url http://<ip/fqdn>:8580 s3 ls primary
$ aws --profile qsSOOS --endpoint-url http://<ip/fqdn>:8580 s3 ls external
$
Assuming both of these commands completed successfully (again, NO OUTPUT), then you should be good to move forward with the Nextcloud install!
Let’s not forget networking…
Before moving on, now is a good time to discuss network fault tolerance. With what we’ve set up, you can use one of the node IP addresses, and if using a load balancer the traffic will be directed across the cluster. That said, the load balancer only makes balancing decisions when traffic first comes into it and after that the session is sticky, which suggests that ALL of your traffic from Nextcloud will go through a single load balancer and then proceed to a single S3 gateway. That’s fine, but what if the load balancer goes down? Nextcloud will lose connection and have no access to storage, and it would require a configuration change to get it back up.
For those of you impatient types, like me, I’m going to provide the answer and then explain why it’s the answer. When working with most clustering technology you have the concept of a Virtual IP Address (VIP). This is an address that is different than the main system address and can float across the cluster. The beauty of this is that upon failure of a system the VIP can be automatically moved to another, surviving system very quickly. So the answer to the problem is to create at least one VIP, and if your expected traffic pattern requires it, multiple VIPs. If you create multiple VIPs then you’re going to want to add a round-robin DNS (RR DNS) entry so traffic is distributed across all of the VIPs. RR DNS is a DNS entry that is mapped to multiple IP addresses. When a client requests an address for that RR entry, one of the multiple addresses is returned, changing on a per-request basis.
Now for the logic behind the answer. A VIP is assigned to a single node at any one point in time, and, without a compelling event (system failure, shutdown, manual reassignment, etc.), sticks to that node. Let’s take our current scenario and go through the networking scenarios to build to the answer:
- Clients (including Nextcloud) talk directly to one Rados Gateway (No VIP, No load balancer, No RR DNS)
- All traffic is handled by a single system while 5 other nodes idle
- The storage gateway node becomes a Single Point of Failure (SPoF). If the system goes down, you need to change the storage address in the client (Nextcloud) to resolve the issue (NOT automatic)
- Different clients can be pointed to different Rados Gateways, thereby MANUALLY balancing traffic across the storage gateway nodes, but each one is a SPoF for each of the clients
- Clients (including Nextcloud) talk directly to one of the load balancers (No VIP, No RR DNS)
- Traffic is handled by all 6 systems (due to the load balancer)
- The load balancer node becomes a SPoF. If the system goes down, you need to change the storage address in Nextcloud to resolve the issue (NOT automatic)
- Different clients can be pointed to different load balancers, thereby MANUALLY balancing traffic across the load balancers, but each one is a SPoF for each of the clients
- Clients (including Nextcloud) talk to a VIP that goes through a load balancer (No RR DNS)
- Traffic is handled by all 6 systems (due to the load balancer)
- If the system with the VIP goes down, the VIP is automatically moved to a surviving system and IS automatically resolved (due to the VIP)
- If you have 100 clients talking to the object storage, all traffic will go through the single VIP and single load balancer
- No SPoF, but creates traffic hotspots across the storage nodes
- Clients (including Nextcloud) talk to multiple VIPs, distributed by RR DNS, that goes through multiple load balancers
- Traffic is handled by all 6 systems (due to the load balancers)
- If a system with a VIP goes down, the VIP is automatically moved to a surviving system and IS automatically resolved (due to the VIP)
- If you have 100 clients talking to the object storage, traffic will be distributed across the VIPs (due to RR DNS)
- No SPoF, lower probability of hotspots
So to sumarize, the most fault-tolerant solution involves using VIPs. In my PoC scenario, my Nextcloud system is the ONLY system that’s talking to the object storage, so multiple VIPs and RR DNS is overkill. If I had a larger client fanout, that’s when I would add both additional VIPs and RR DNS. So for this activity, I’m going to use one VIP and not use round-robin DNS. Here’s how you create the VIP:
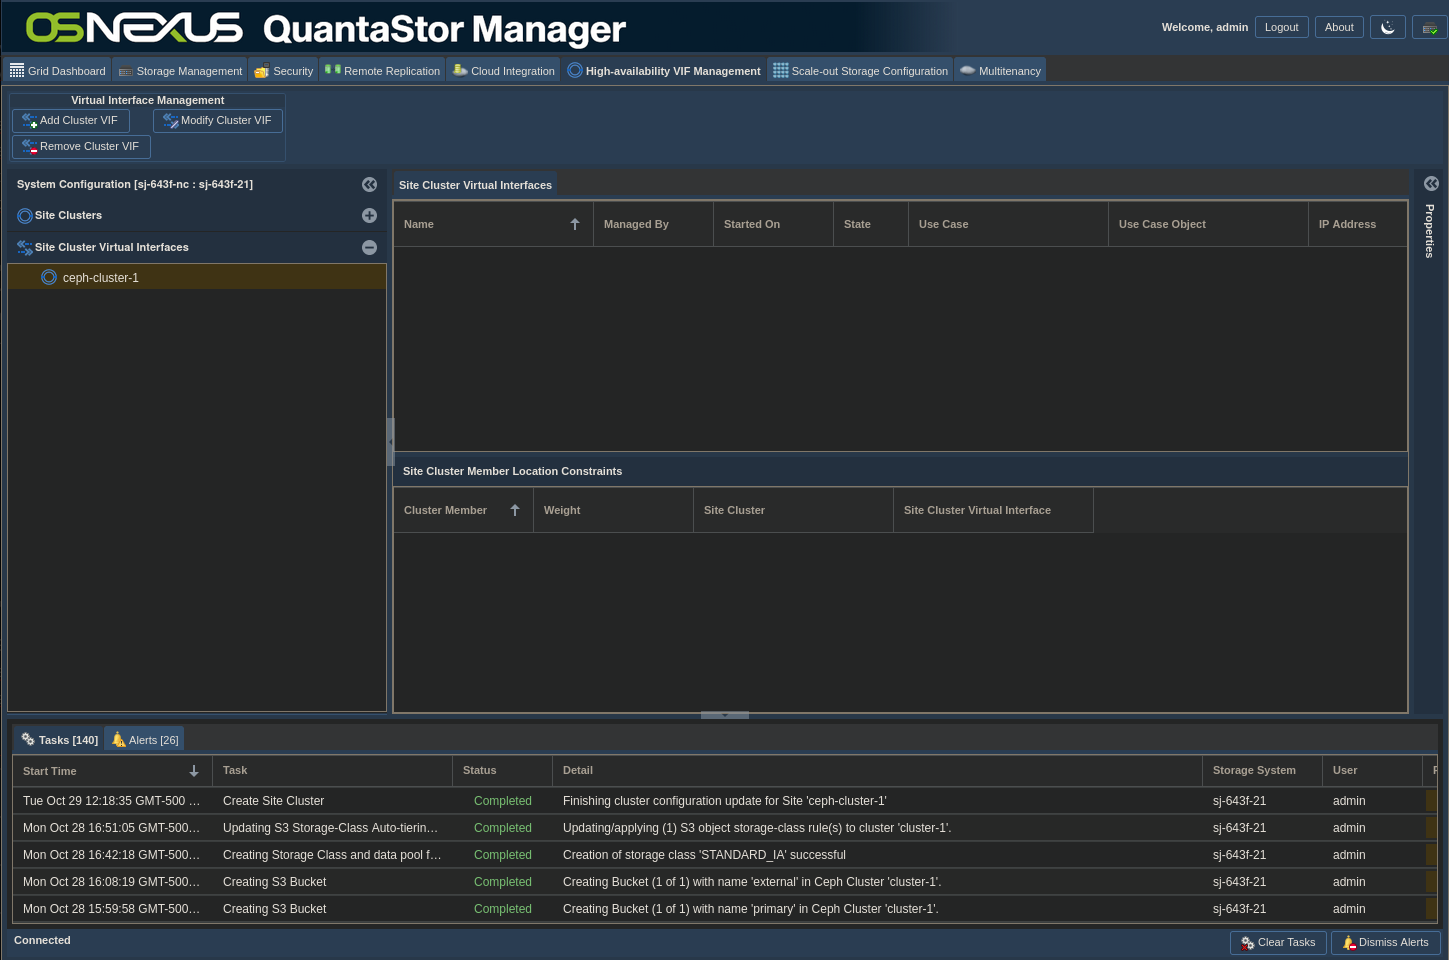
- In the main QS web UI, select the High-availablity VIP Management Context Tab at the top of the window
- In the Navigation Pane, the Site Clusters section should already be selected

- Right-click anywhere in the Site Clusters section of the Navigation Pane and select Create Site Clusters
- Set the name to soos-cluster-1 and select all systems

- Click OK
- Once the task is completed, select the Site Cluster Virtual Interfaces section in the Navigation Pane
Note: You might see a warning on your cluster entry. This will go away as your cluster monitoring processes finalize initialization.
- Left-click the soos-cluster-1 entry then right-click and select Add Cluster VIP
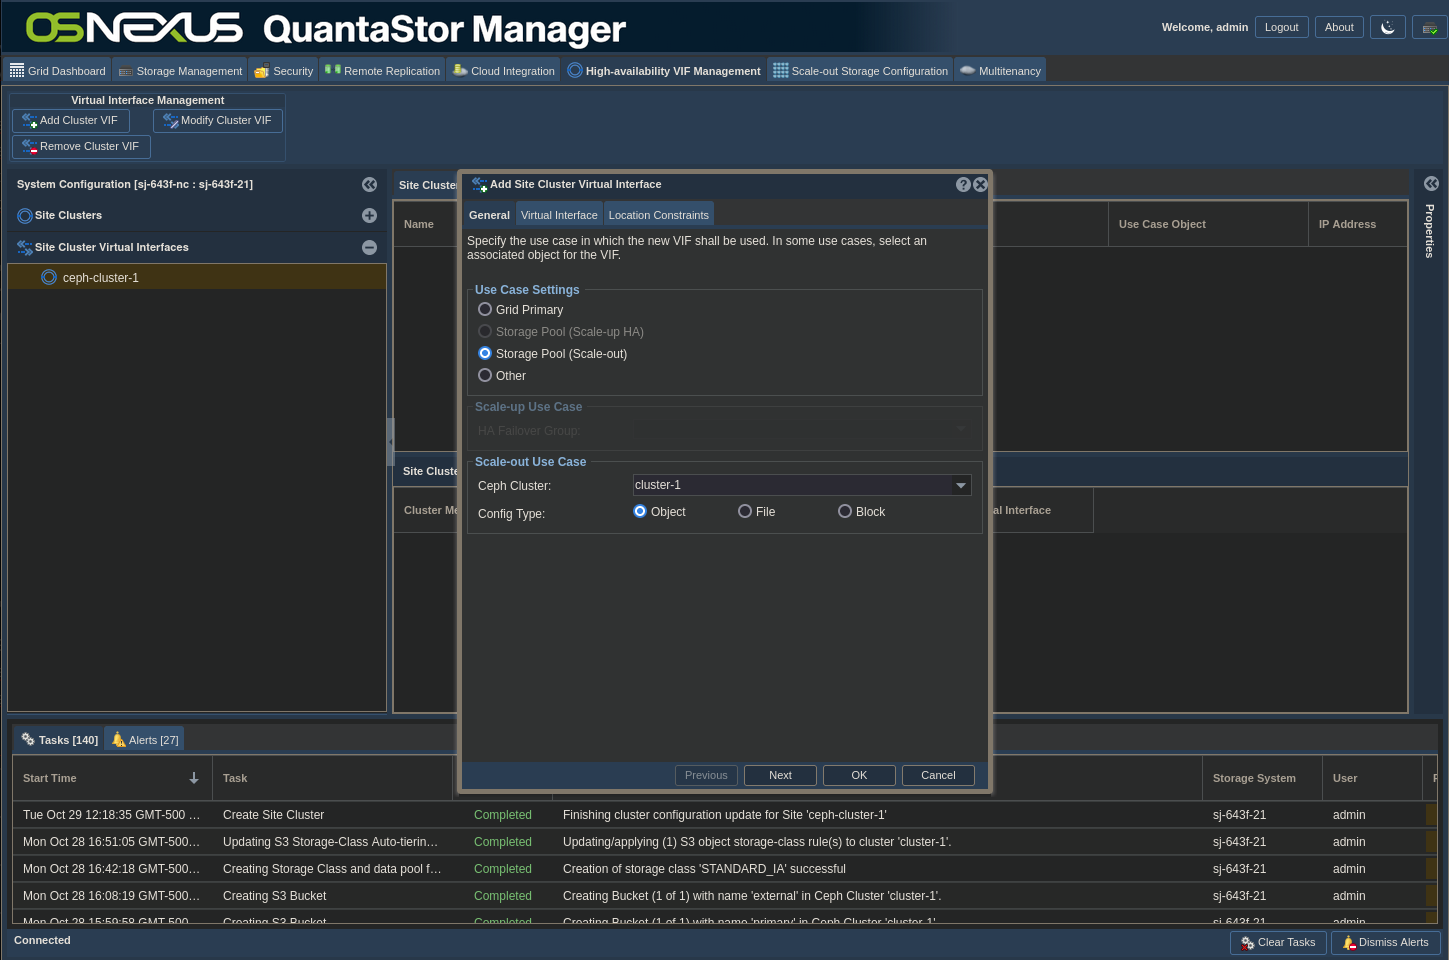
- The entries on the General tab should all be good, so click Next
- Add the IP address you want to use for the VIP, uncheck the iSCSI Portal and NVMeoF Portal boxes and check the interface you want to use on your node(s). Note that for simplicity I didn’t bond my interfaces, but for a production system I would have and in this dialog I would then select the bond.
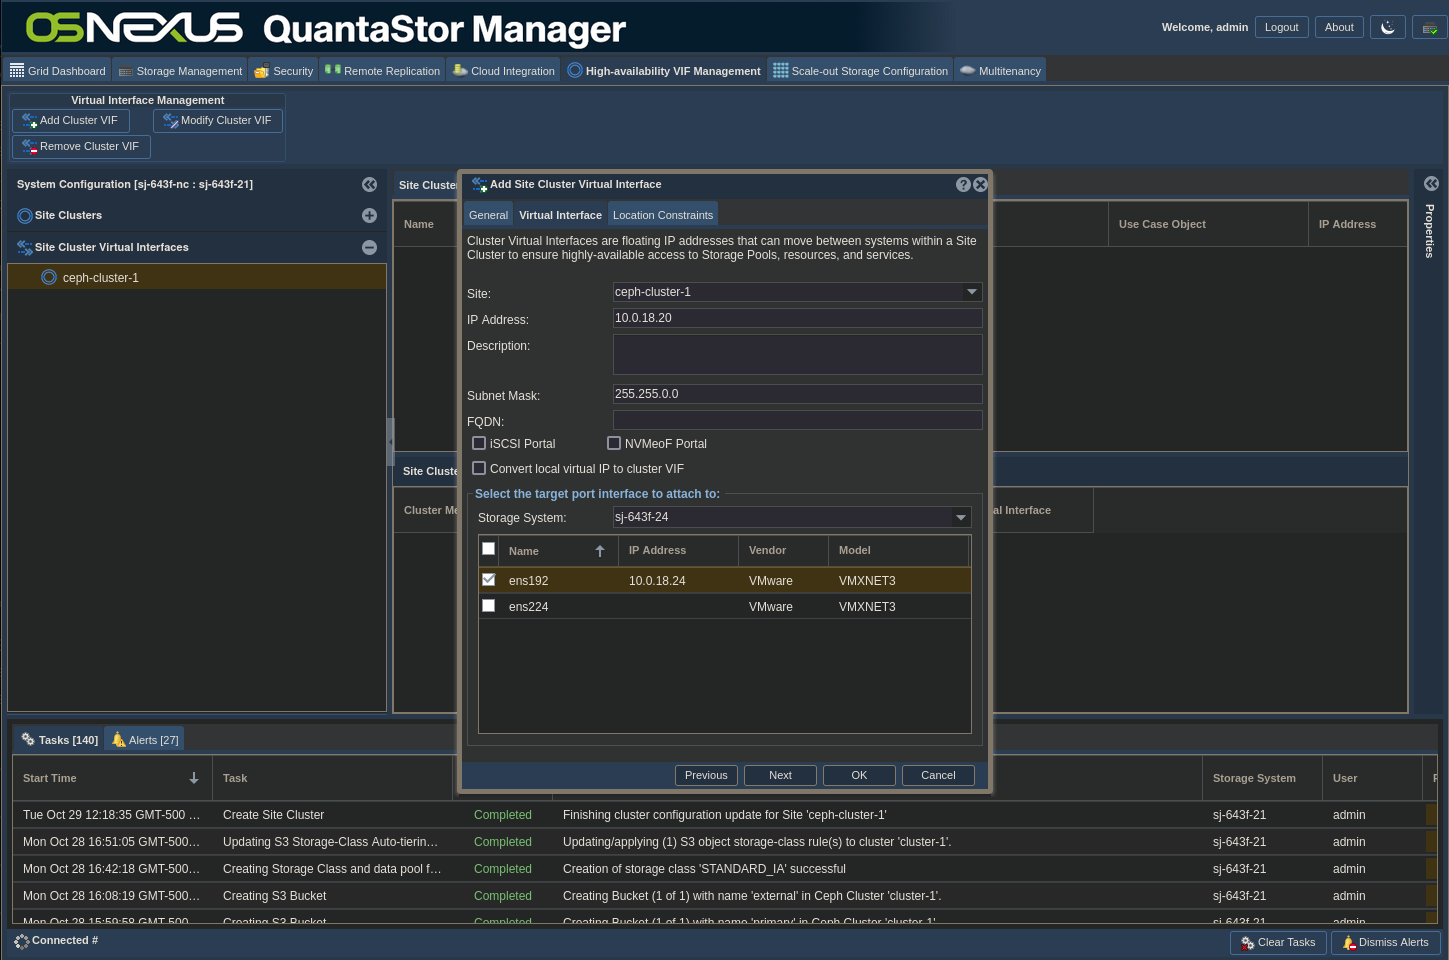
- Click OK
- For completeness, you could now go back to the AWS CLI and issue the following command to validate that it works:
$ aws --profile qsSOOS --endpoint-url http://<vip | fqdn>:8580 s3 ls primary- (Optional) This is the point where you would create a DNS entry for your VIP if you so choose. I will be using the VIP IP address in my configuration.
Nextcloud Installation
Now we’ll move on to the Nextcloud install. I’ll assume you’ve already got an Ubuntu 24.04 node already set up and ready to go. I’ll be doing this installation over SSH and using SCP to transfer a file to the node.
Note: Since I’m not using HTTPS between Nextcloud and QuantaStor I don’t need to do anything with certificates. If you have decided that you need to use HTTPS, now is the time when you want to make sure that your Nextcloud system trusts the cert you’re going to use on the load balancer or gateway.
The first thing we need to do is to transfer a configuration file to the Nextcloud system that will detail how to connect to QuantaStor Scale-out Object Storage for Nextcloud primary storage. This file differs slightly depending on your decided use of HTTPS. I’ll include both, but will be using HTTP for my install. I’ve left some commented reference and options lines in there to avoid you having to hunt for the options if you decide do try something different.
storage.config.http.php
<?php
$CONFIG = array (
  'objectstore' => array(
    'class' => 'OC\\Files\\ObjectStore\\S3',
    'arguments' => array(
      'bucket' => 'primary',
      'autocreate' => false,
      'key'    => 'A6AXJGIR7LRRNSETYEHD',
      'secret' => 'hxBZHv1fqtRo87CqEbGTVCG0Yt25deveIDj6mwBu',
      'hostname' => '10.0.18.20',
      'port' => 8580,
      'use_ssl' => false,
      'ssl' => [
        // https://www.php.net/manual/en/context.ssl.php
          'verify_peer' => false,
            // or true if using a trusted CA
          'verify_peer_name' => false,
            // or true if using a trusted CA
          // 'local_cert' = '/path/to/cert.crt'
          // 'allow_self_signed' => true,
            // enable trust for self-signed certificates
          // 'cafile' => '/path/to/ca.crt',
            // path to your CA certificate file
      ],
      'region' => 'us-west-1',
      'use_path_style'=>false
      // required for some non Amazon S3 implementations
      // 'use_path_style'=>true
    ),
  ),
);
storage.config.https.php
<?php
$CONFIG = array (
  'objectstore' => array(
    'class' => 'OC\\Files\\ObjectStore\\S3',
    'arguments' => array(
      'bucket' => 'primary',
      'autocreate' => false,
      'key'    => 'A6AXJGIR7LRRNSETYEHD',
      'secret' => 'hxBZHv1fqtRo87CqEbGTVCG0Yt25deveIDj6mwBu',
      'hostname' => '10.0.18.20',
      'port' => 8581,
      'use_ssl' => true,
      'ssl' => [
        // https://www.php.net/manual/en/context.ssl.php
          'verify_peer' => true,
            // or true if using a trusted CA
          'verify_peer_name' => true,
            // or true if using a trusted CA
          // 'local_cert' = '/path/to/cert.crt'
          // 'allow_self_signed' => true,
            // enable trust for self-signed certificates
          // 'cafile' => '/path/to/ca.crt',
            // path to your CA certificate file
      ],
      'region' => 'us-west-1',
      'use_path_style'=>false
      // required for some non Amazon S3 implementations
      // 'use_path_style'=>true
    ),
  ),
);
Install
- Make a decision on how you want to get the file to the Nextcloud node. You can create it on your local system and SCP it (make sure you use a local app that knows how to implement Linux line endings) or you can copy an paste it through SSH. I’m using SCP:
$ scp storage.config.http.php osnexus@10.0.18.11:storage.config.phpNote the name change! Nextcloud knows to look for storage.config.php, but not other variations, so make sure you name it appropriately!
- If you want to use SSH, issue:
$ ssh osnexus@10.0.18.11- And once connected use:
$ nano storage.config.php- or
$ vi storage.config.php- to paste the contents into the file.
If you used SCP, now SSH to the node. The rest of the Nextcloud install will be done through the SSH session.
- We need to move the storage config file to a location where the Nextcloud install will pick it up and use it.
sudo mkdir -p /var/www/nextcloud/config
sudo cp storage.config.php /var/www/nextcloud/config- Now we need to download and run the installer script.
wget https://raw.githubusercontent.com/nextcloud/vm/main/nextcloud_install_production.sh- There are two ways we can start this. If you want to capture the full output of the script into a log file do this:
sudo script -c "bash nextcloud_install_production.sh" nc_output.log- Otherwise, do this:
sudo bash nextcloud_install_production.sh- Install intro dialog, press Enter.

- LVM Snapshots dialog, select Yes and press Enter.

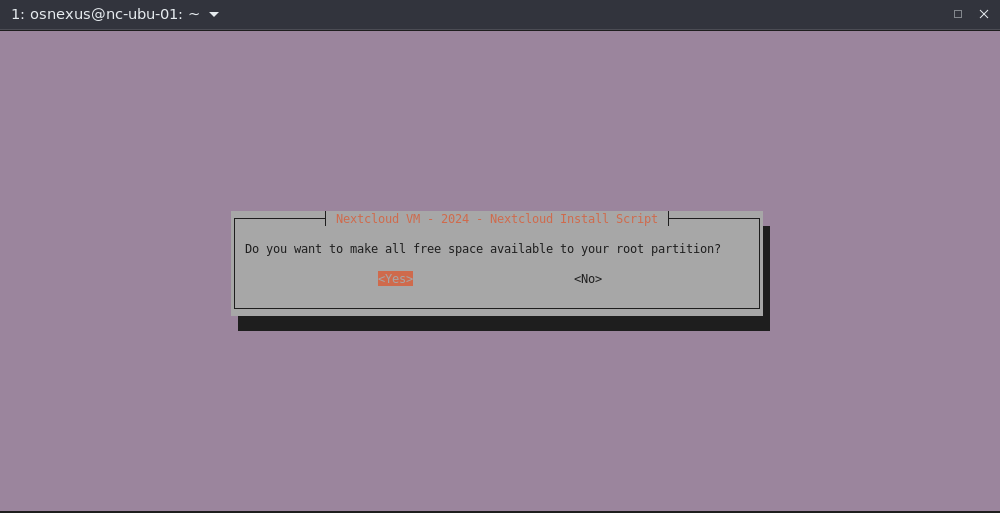
- Free space dialog, select Yes and press Enter.
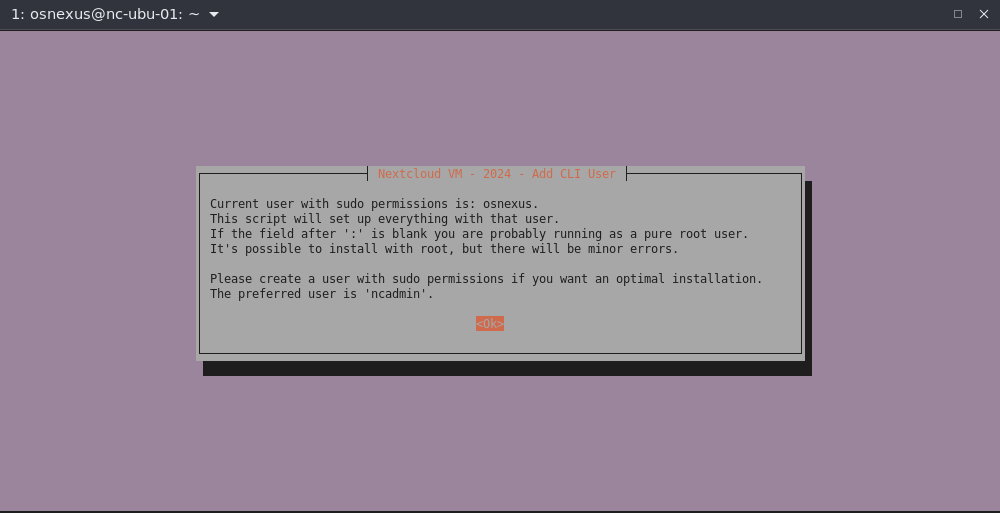
- Add CLI User info dialog, press Enter.
I’m going to use the osnexus user that I’ve already created.
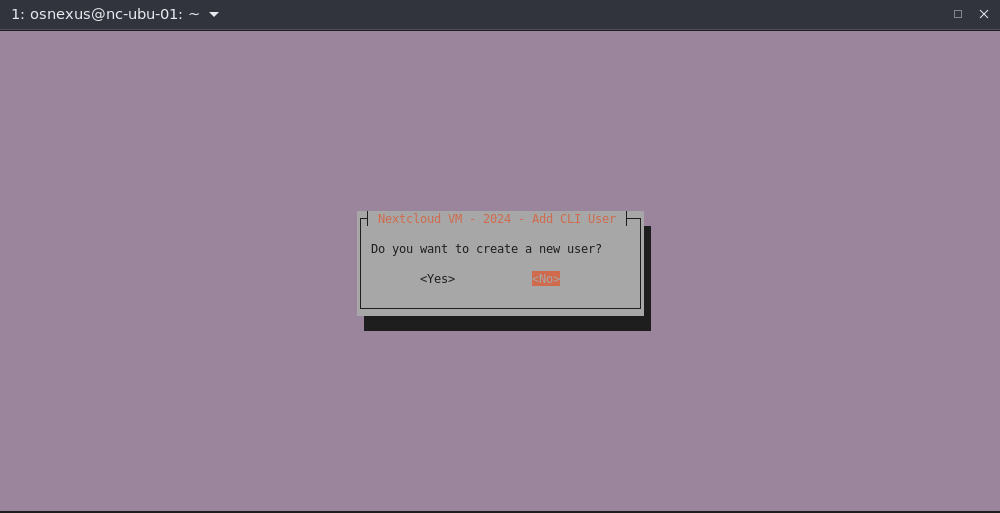
- Create new user dialog, select No and press Enter.
- Two disk information dialog, press Enter.
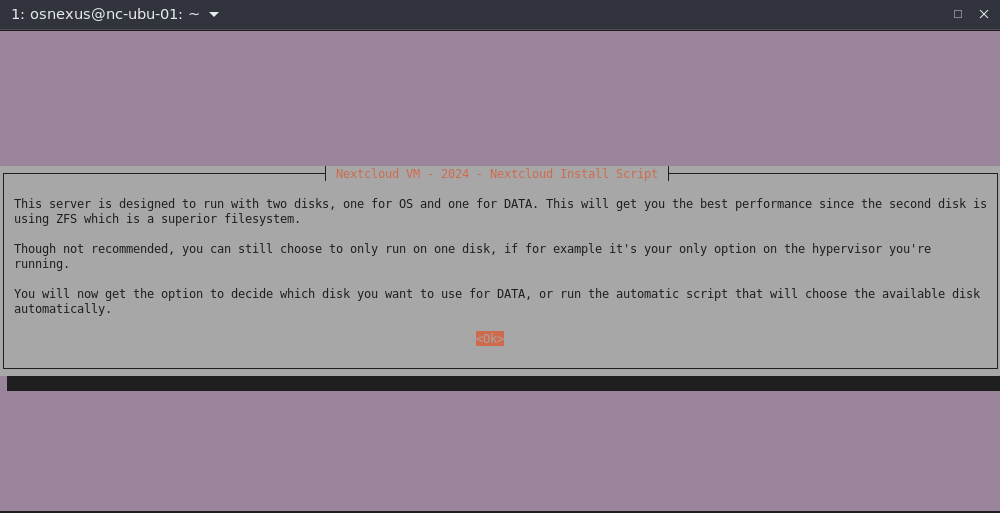
- Choose disk format dialog, select 1 Disk, tab to OK and press Enter.
Since we’re using Scale-out Object Storage as our primary storage we don’t need or want a local ZFS filesystem.

- Set DNS Resolver dialog, select Local, tab to OK and press Enter.

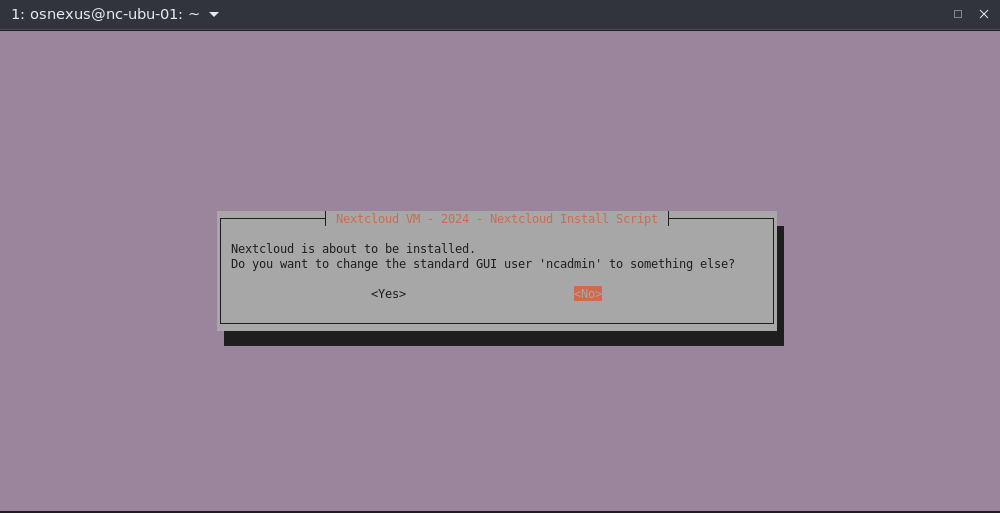
- Nextcloud is about to be installed dialog.
Do you want to change the standard GUI user ‘ncadmin’ to something else?
Select No and press Enter.
- Install apps or software dialog. You’re provided a list of Nextcloud applications to install during the install process. These can be installed after the fact, and not all of them appear to be suitable for this version of Nextcloud. If you go to https://apps.nextcloud.com/ you’ll find that PDFViewer, Suspicious Login detection and IssueTemplate all show a message that says, “This app hasn’t been tested with the latest 3 major releases of Nextcloud. It may no longer be maintained or supported and may have compatibility issues when used with more recent versions of Nextcloud.” All of these items can be installed after-the-fact through the web UI. For my purposes, I’m going to only select the following and leave everything else for later:
- Contacts: A contacts app for Nextcloud
- Extract: Extract archive from the web interface

- Installation almost done dialog. Press Enter.

Post-Install Config
After the reboot, SSH back into the node and you’ll be greeted with the following:
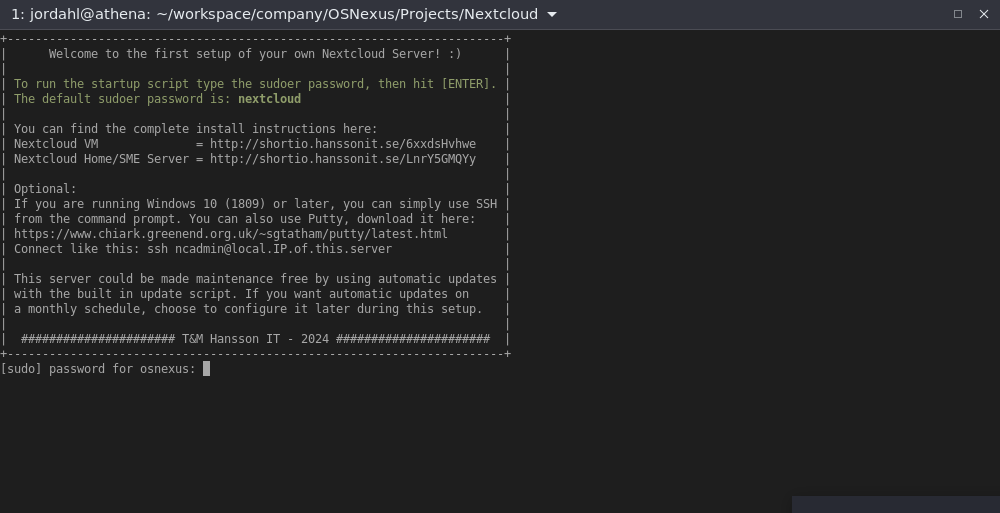
Once again, you have a choice whether you want to log the output of this second script. If you don’t, you can just enter your sudo password and get started. If you do want to log, Ctrl-C out of the script and run it manually like this:
sudo script -c "bash /var/scripts/nextcloud-startup-script.sh" $HOME/nc_startup_output.logAnd here we go…
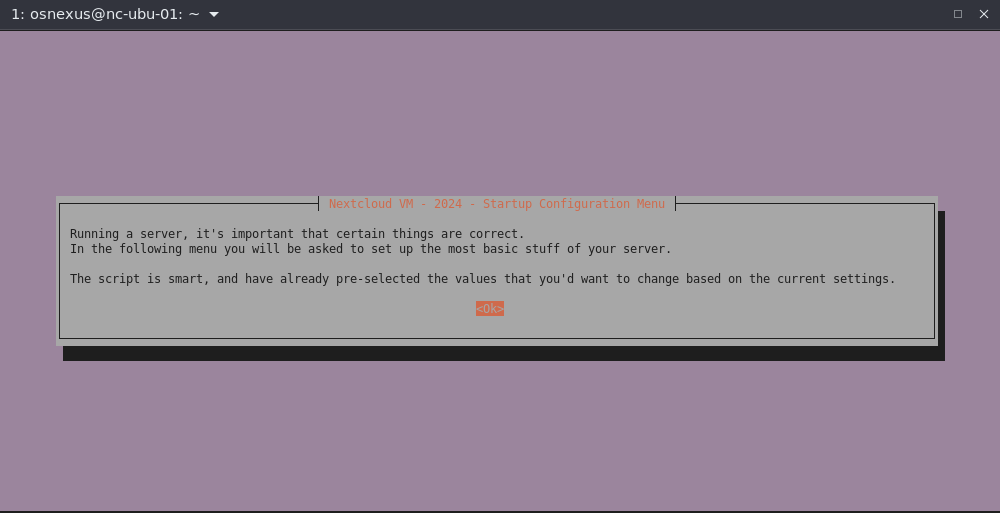
- Startup Configuration Menu dialog, press Enter.
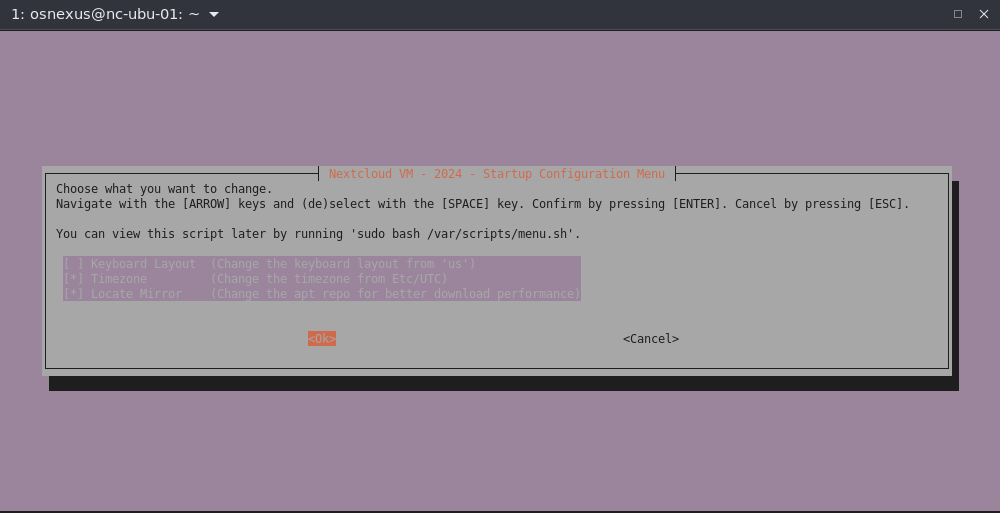
- Startup Configuration Menu dialog. Choose what you want to change. I’m OK with my keyboard layout, so I’ll deselect that, but I do want to set my Timezone and use Locate Mirror to make my apt downloads more efficient. Make your selections, tab to OK and press Enter.
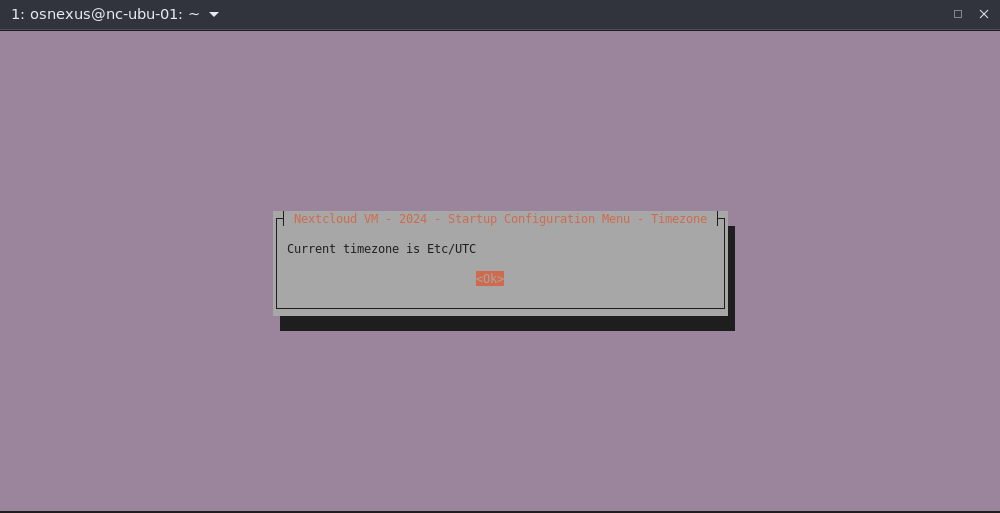
- Current timezone dialog, press Enter.
- Change timezone dialog.
Do you want to change the timezone? Select Yes and press Enter.

- Configuring tzdata dialog.
For me, I’m in America, so I’ll select America, tab to OK and press Enter.

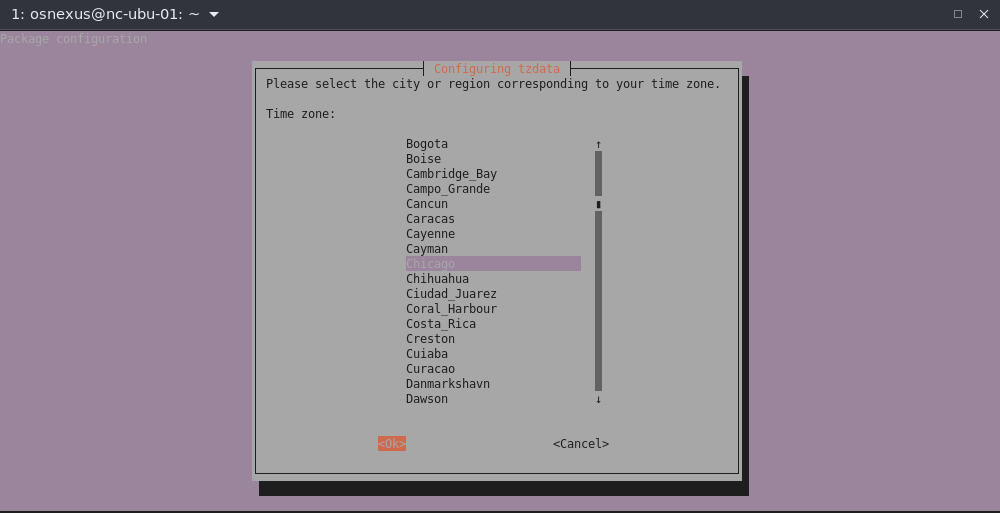
- Configuring tzdata dialog.
I’m in the Central timezone, so I’ll select Chicago, tab to OK and press Enter.
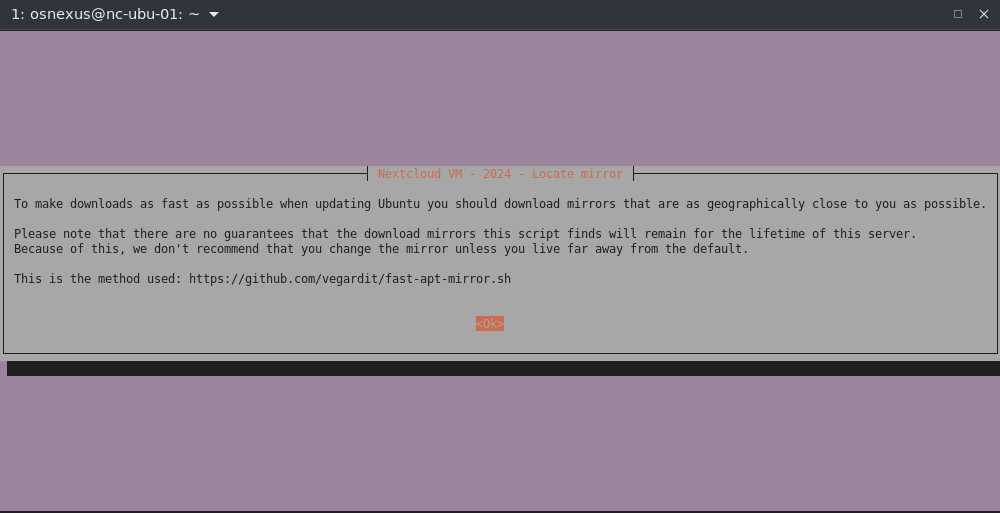
- Locate Mirror info dialog, press Enter.
- Install Locate Mirror dialog.
Do you want to install Locate Mirror? Select Yes and press Enter.

- Current mirror dialog, press Enter.

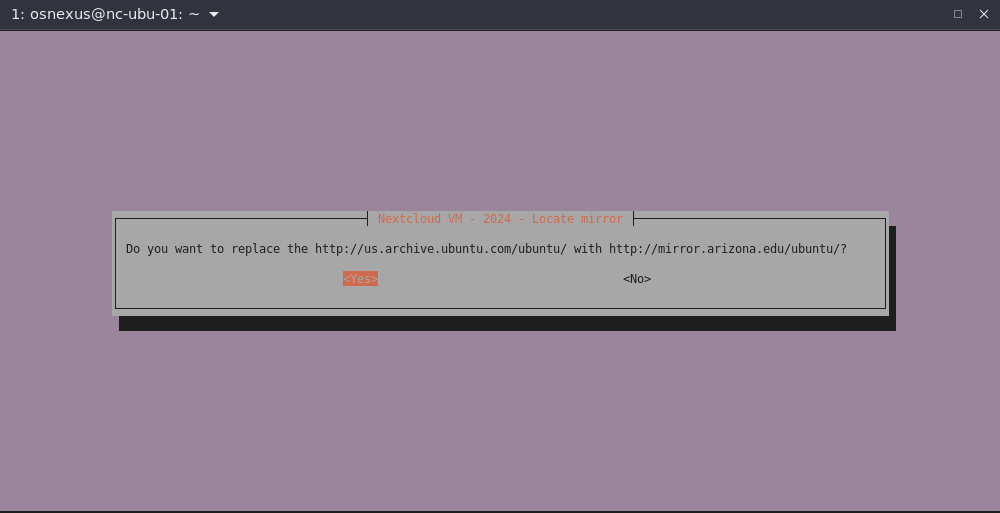
- Find a better mirror dialog, select Yes and press Enter.

- Replace mirror dialog, select Yes and press Enter.
- Repo was successfully changed dialog, press Enter.

- User ‘ncadmin’ does not exist dialog, press Enter.
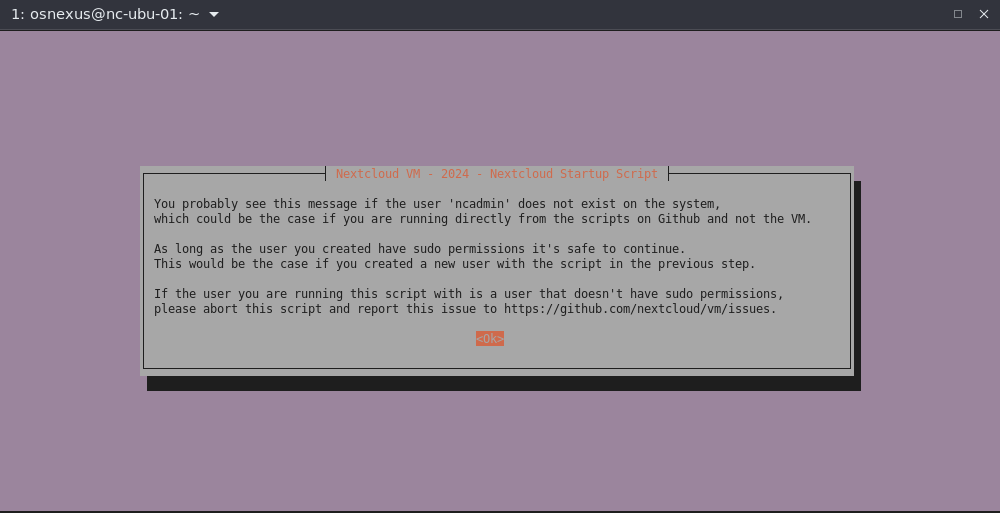
- Abort script dialog, select No and press Enter.

- Nextcloud Startup Script dialog, press Enter.

- Notes dialog, press Enter.
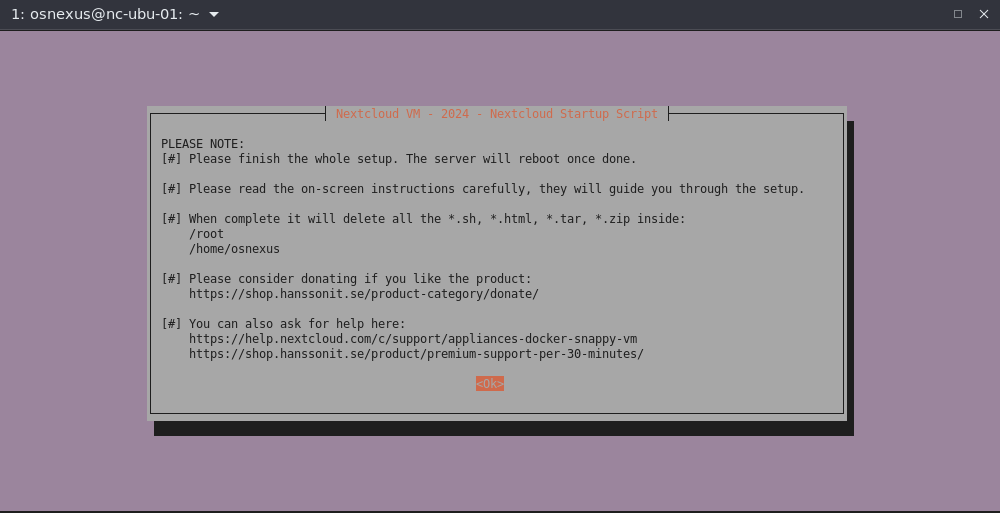
- Note to not abort dialog, press Enter.

- Different configurations dialog, press Enter.
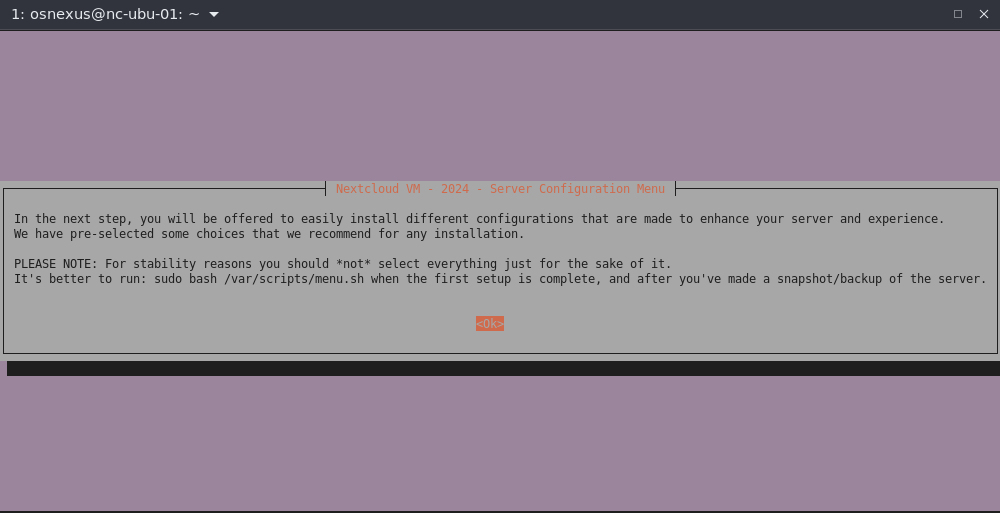
- Server Configuration Menu dialog
All of these items can be installed after-the-fact by running sudo bash /var/scripts/menu.sh and selecting the Server Configuration item.- DeSEC, DDclient Configuration, Activate TLS: these are all for exposing your Nextcloud platform to the Internet. Depending on your circumstances you may want none, some or all of them. I’m going to skip them as this environment is not for production purposes.
- SMTP Mail: I believe SMTP Mail is a valuable one so that system processes can send you notification via email. This entry is different than one we’ll find in the web interface where Nextcloud will notify you via email. I’m going to select it.
- Static IP: I’ve already got a static IP, so I’m not going to select it.
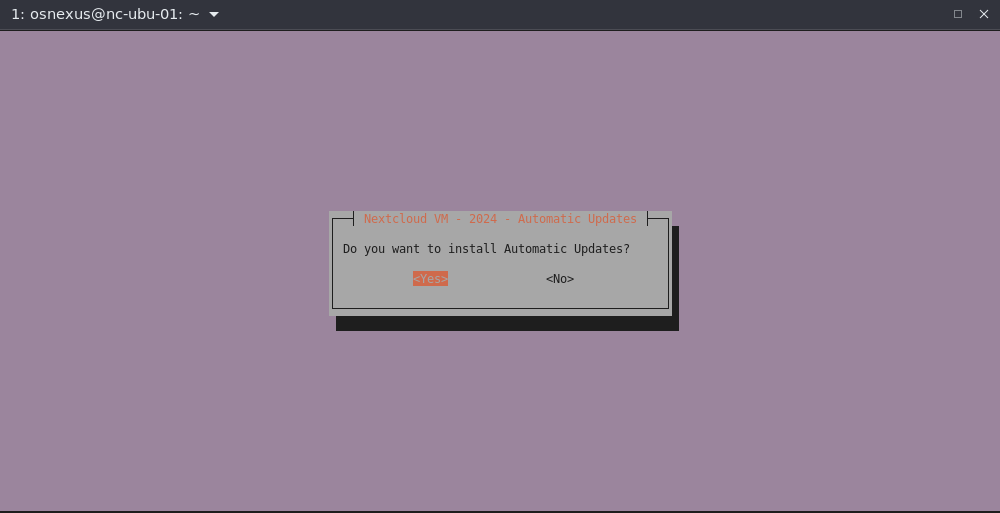
- Automatic updates: I like the idea of automatic updates. I’m selecting it.
- GeoBlock: Don’t need this for the PoC, but for production it might be good to do. Not selecting it.
- Disk Monitoring: Since this is a VM that’s backed by other storage, I don’t need to implement S.M.A.R.T monitoring. Not selecting it.
- Extra Security: Don’t need this for a PoC. Not selecting it.
- Database Shrinking: Don’t need this for a PoC. Not selecting it.
- Daily Backup Wizard: Don’t need this for a PoC. Not selecting it.

- Automatic Updates dialog, press Enter.

- Install Automatic Updates dialog, select Yes and press Enter.
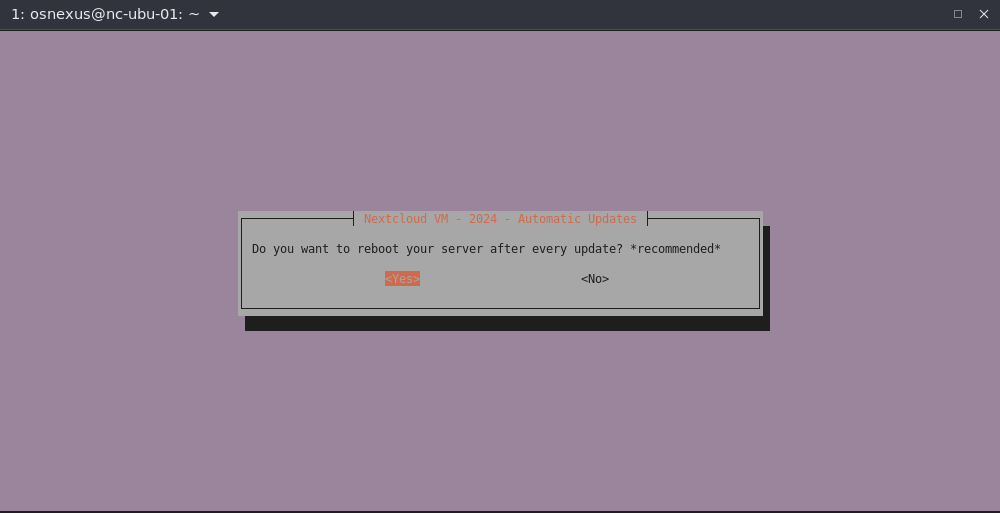
- Reboot after update dialog. Make your selection and press Enter.
- Keep backups dialog, press Enter.
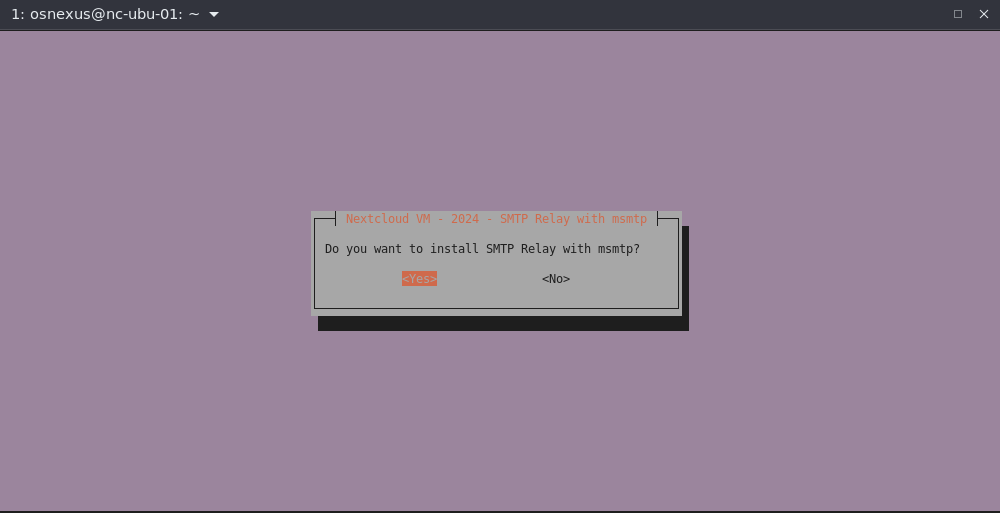
- SMTP Relay dialog, press Enter.

- Install SMTP Relay with msmtp dialog, select Yes, press Enter.
- Enable AppArmor dialog. This one is your call, depending on your environment. I’m enabling it.

- SMTP Provider dialog. I’m using an account from Mailtrap (https://mailtrap.io) so I’m configuring manually.

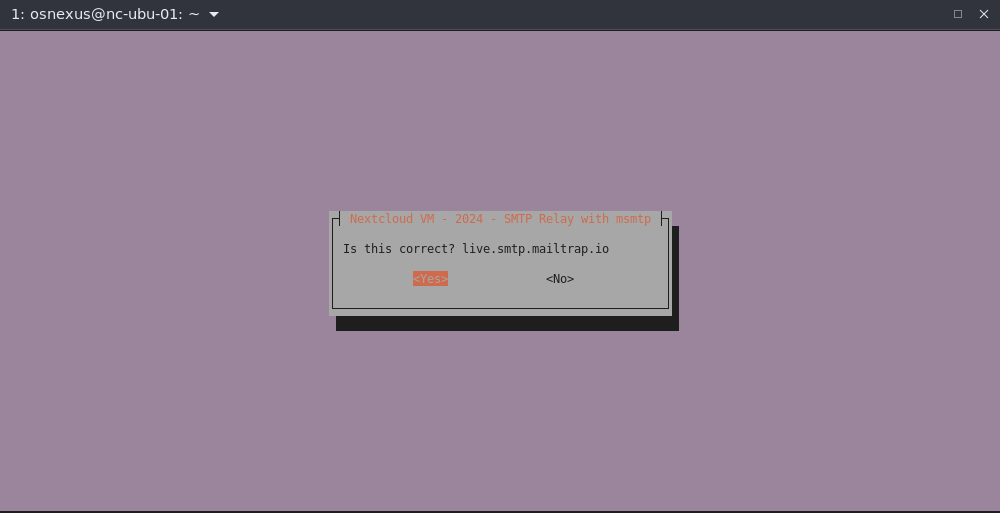
- Enter the SMTP Relay URL dialog, then OK.

- Is this correct dialog. Yes, then OK.
- Encryption protocol dialog. For me, STARTTLS, then OK.

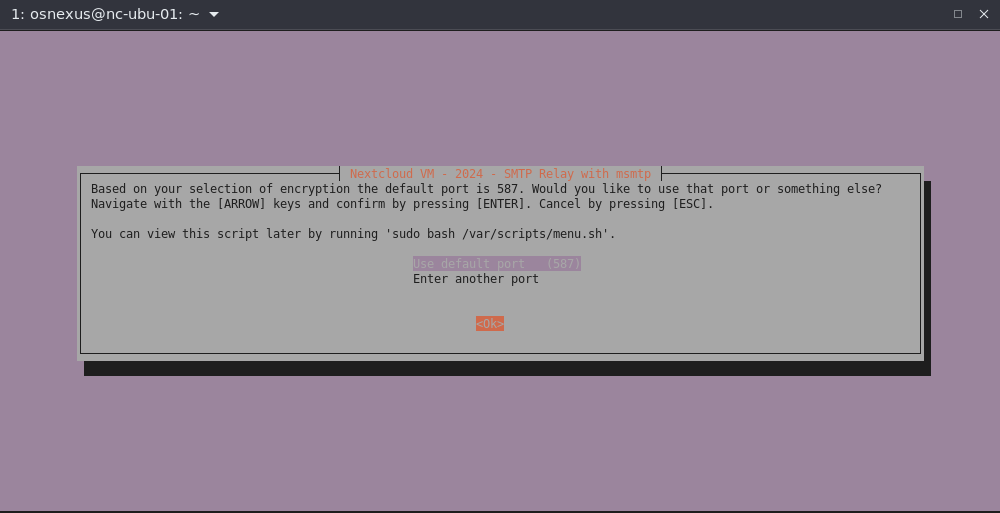
- Encryption port dialog. Port 587 works for me, then OK.
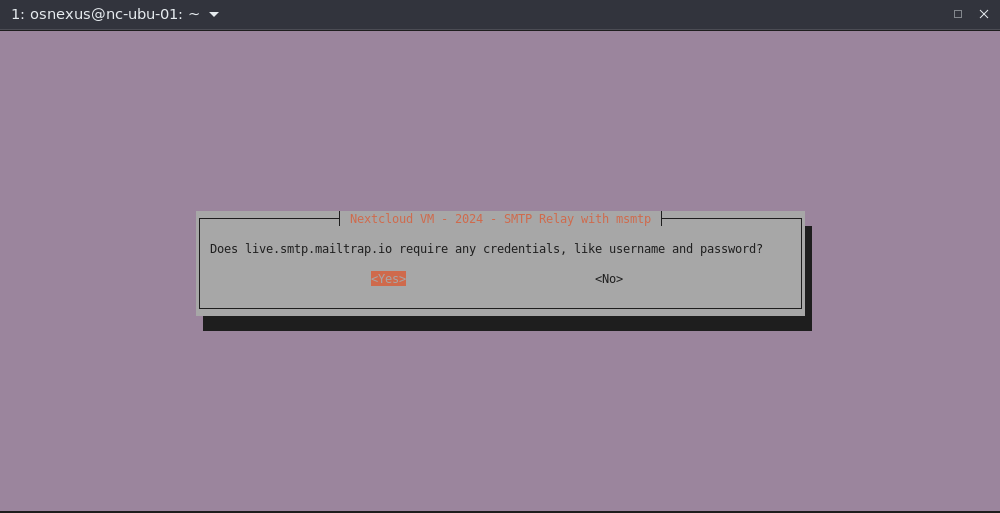
- SMTP credentials dialog. For me, Yes, then OK.
- Username dialog. For me, “api” as the username, then OK.

- Is this correct dialog. Yes, then Enter.
- Enter password dialog. Enter your SMTP password, then OK.

- Is this correct dialog. Yes, then Enter.

- Recipient dialog. Enter recipient, then OK.

- Is this correct dialog. Yes, then Enter.
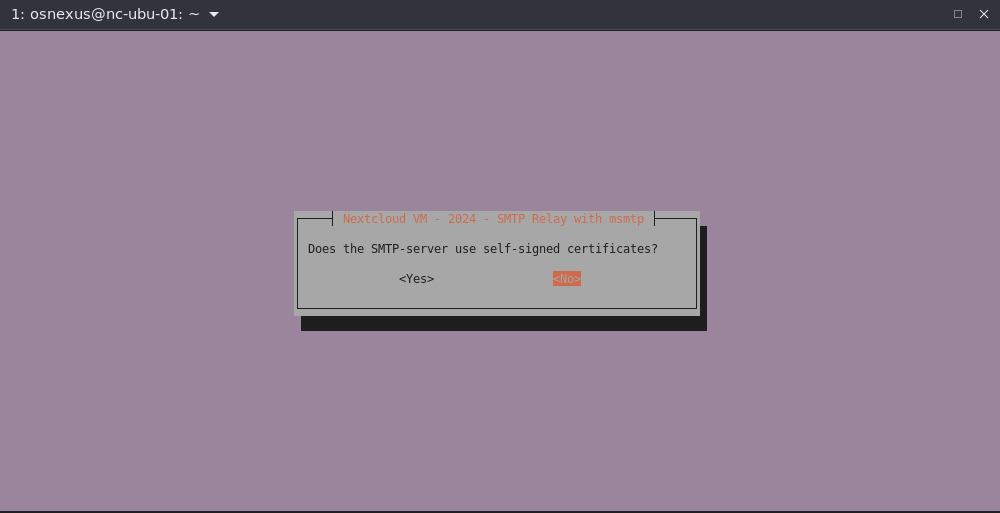
- Self-signed certs dialog. For me, No.
- SMTP settings dialog, OK.

- Everything look correct dialog, Yes.

- Error dialog. For Mailtrap, they require a specific sending domain for my type of account. I’ll need to fix it in the /etc/msmtprc config file afterward. Depending on what you’ve entered you hopefully will get a success dialog. Pressing Enter.

- Nextcloud Configuration Menu dialog
All of these items can be installed after-the-fact by running sudo bash /var/scripts/menu.sh and selecting the Nextcloud Configuration item. <picture 55>- CookieLifetime: From a security perspective, not allowing users to stay logged in forever is a good practice. Selecting it.
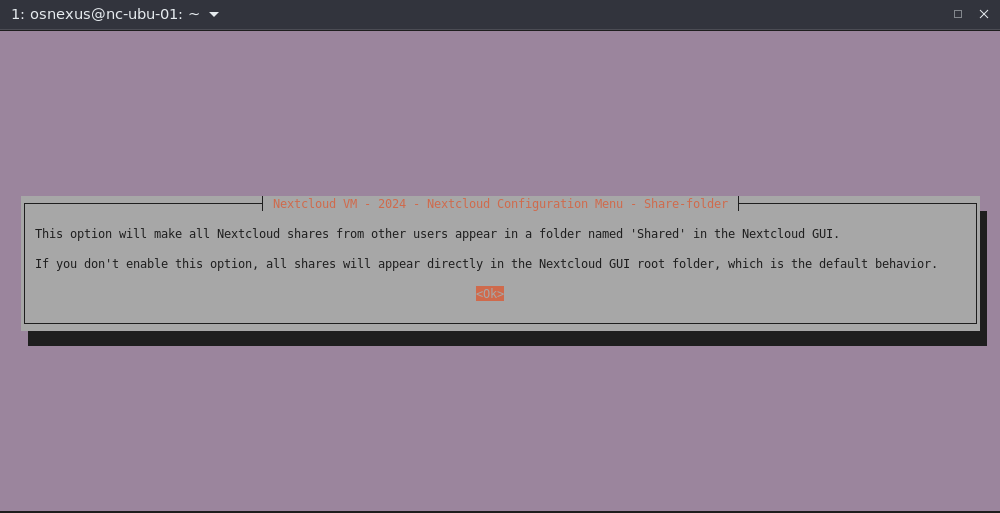
- Share-folder: This one is a preference. I personally like having a single folder in my Nextcloud interface where anything that other users have shared with me shows up. Selecting it.
- Disable workspaces: Leaving alone for now. Not selecting it.
- Disable user flows: Leaving alone for now. Not selecting it.
- Check 0-Byte files: Leaving alone for now. Not selecting it.
- Update mimetype list: Good idea to update the mimetype list. Selecting it.
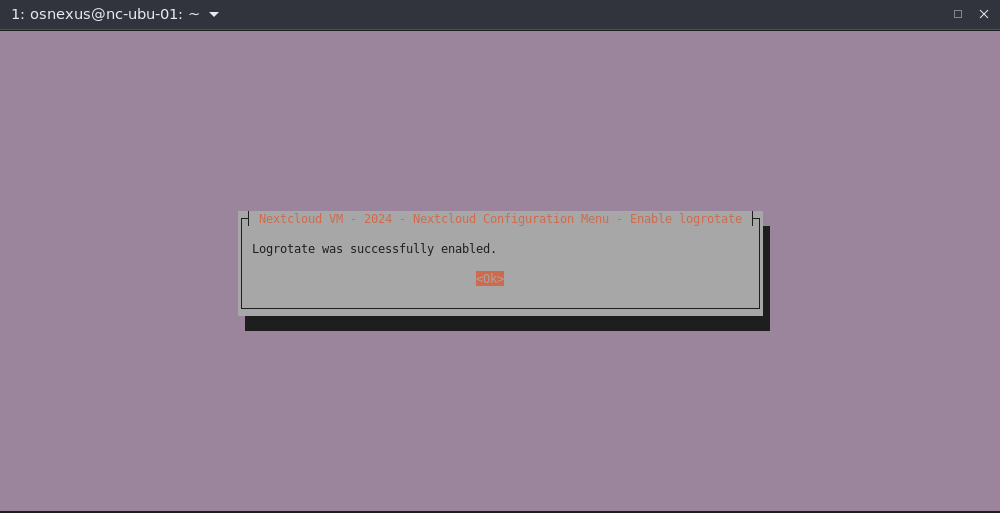
- Enable logrotate: Good administration practice to rotate your logs. Selecting it.

- Cookie Lifetime dialog. Selecting 2 hours and OK.

- Cookie Lifetime successfully set dialog, OK.

- Share-folder dialog, OK.
- Enable Share-folder dialog. Yes, Enter.
- Share-folder success dialog. OK

- Update mimetype database dialog, Yes.

- Logrotate dialog, OK.
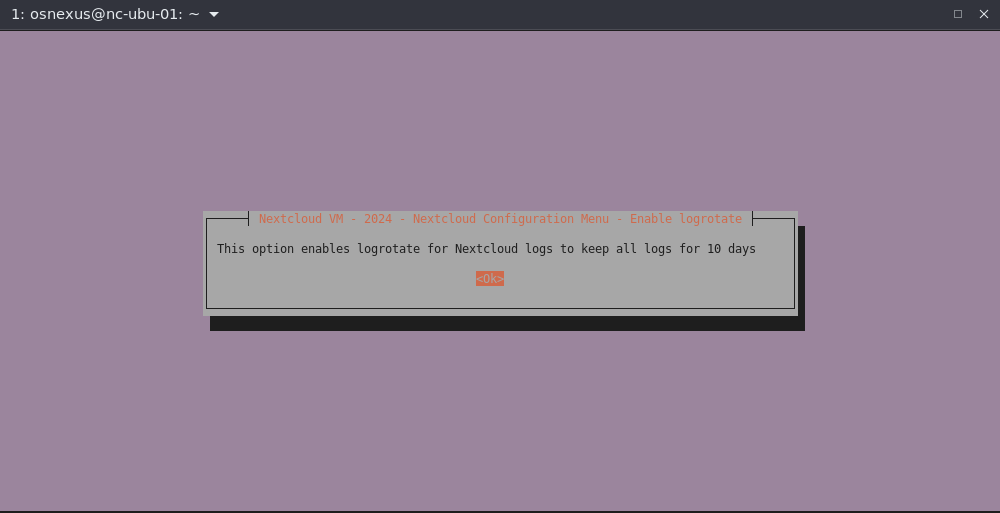
- Enable Logrotate dialog, Yes.

- Logrotate Enabled dialog, OK.
- Additional Apps dialog, OK.

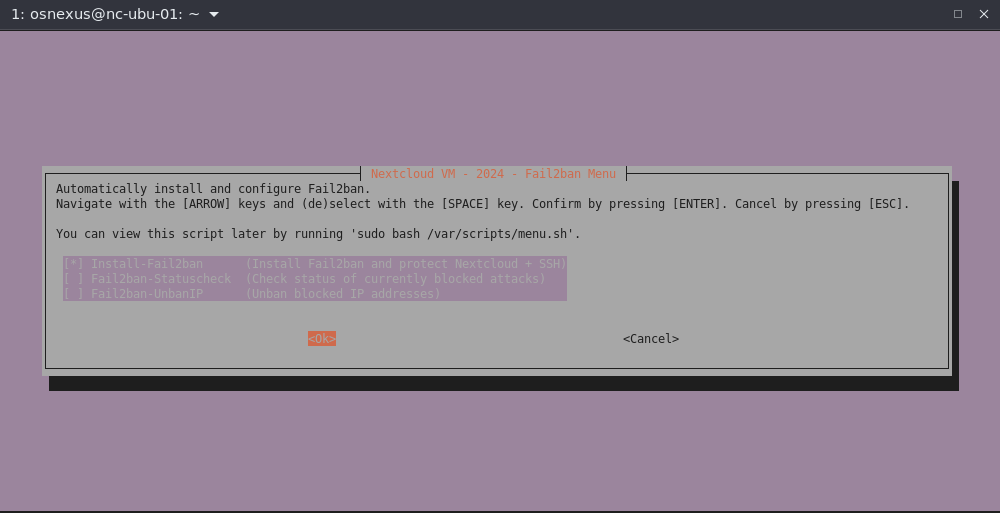
- Additional Apps Menu dialog
All of these items can be installed after-the-fact by runningsudo bash /var/scripts/menu.shand selecting the Additional Apps item. Some of these apps are Nextcloud apps while others are system apps. Some require technologies like Docker. Some have the notice that, “This app hasn’t been tested with the latest 3 major releases of Nextcloud. It may no longer be maintained or supported and may have compatibility issues when used with more recent versions of Nextcloud.”
To keep it simple and system/security related rather than use case related, I’m going to install:- Fail2ban: ban hosts that cause multiple authentication errors
- Webmin: Web-based system administration tool
- Adminer: Web-based PostgreSQL GUI
- Netdata: Web-based System monitoring tool

- Fail2ban Menu dialog, select Install and OK.
- Fail2ban overview dialog, OK.

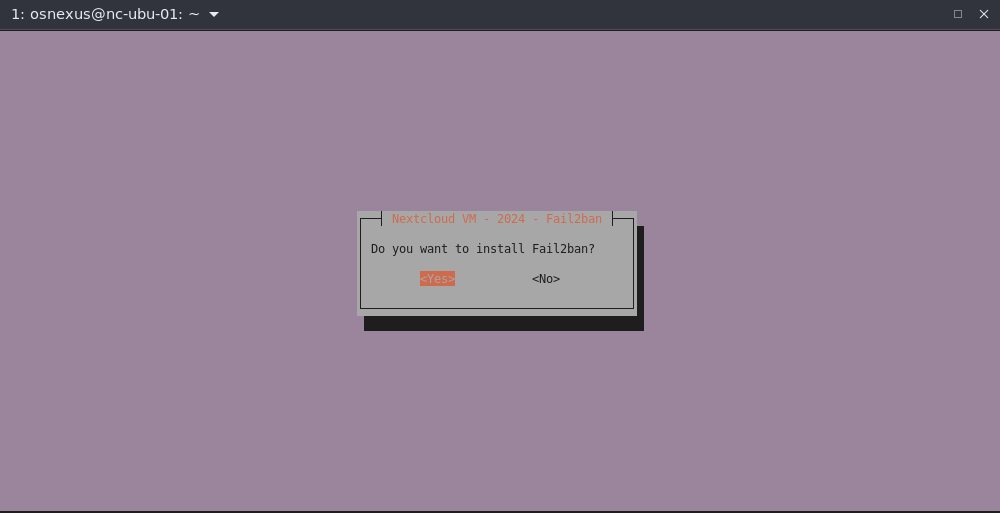
- Install Fail2ban dialog, Yes.
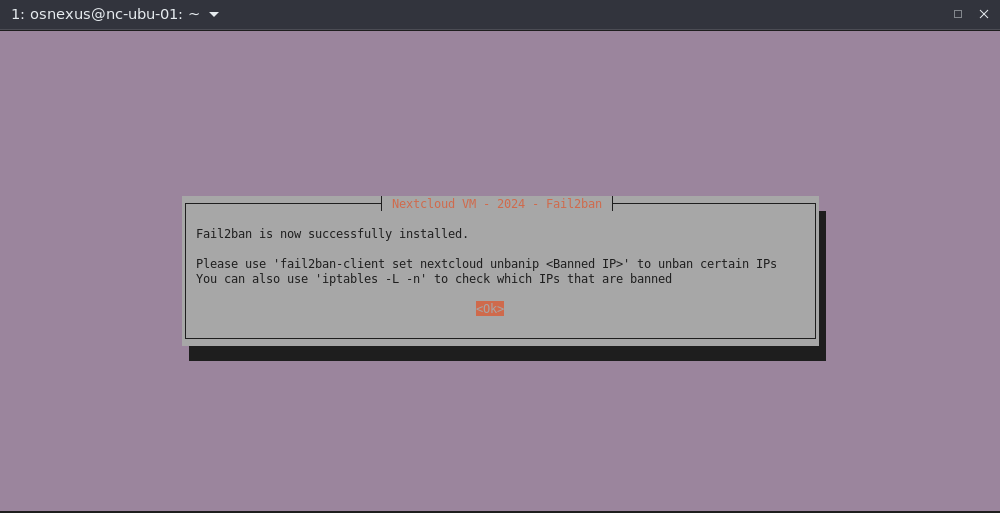
- Fail2ban successfully installed dialog, OK.
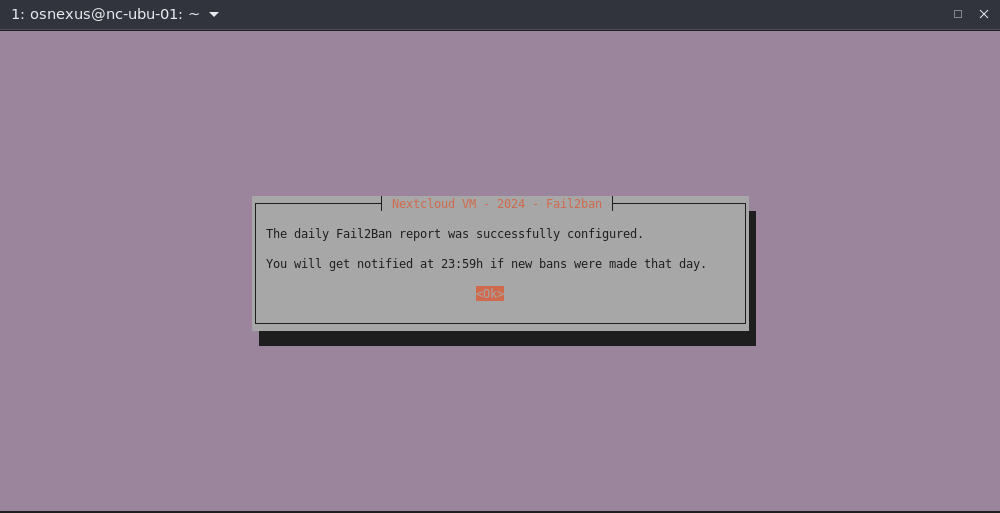
- Fail2ban notifications dialog, Yes.
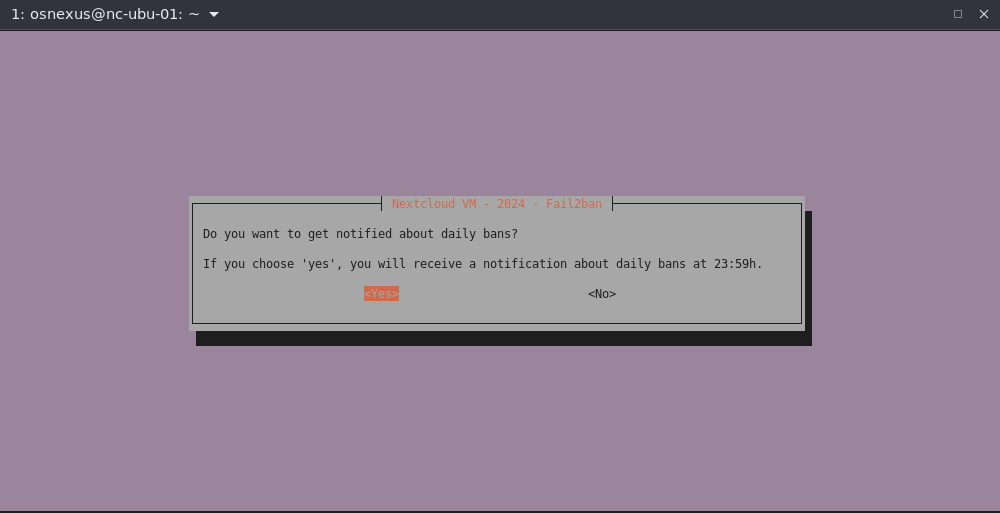
- Fail2ban successfully configured dialog, OK.
Note: Please use ‘fail2ban-client set nextcloud unbanip <Banned IP>‘ to unban certain IPs.
You can also use ‘iptables -L -n‘ to check which IPs that are banned.
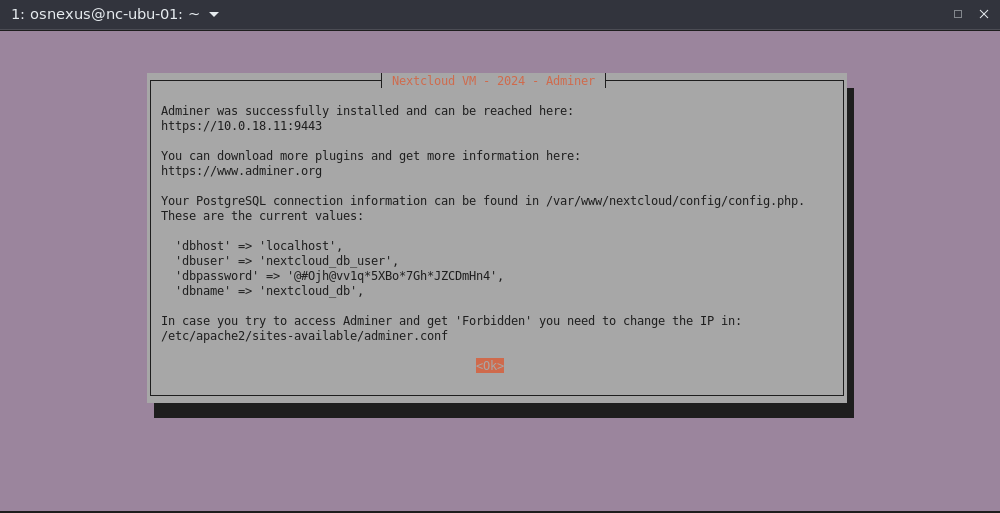
- Adminer overview dialog, OK.

- Install Adminer dialog, Yes.

- Adminer successfully installed dialog, OK.
Adminer can be reached athttps://<ip | fqdn>:9443.
Note the PostgreSQL connection information. You can copy it from the terminal or find it in /var/www/nextcloud/config/config.php.
- Netdata overview dialog, OK.
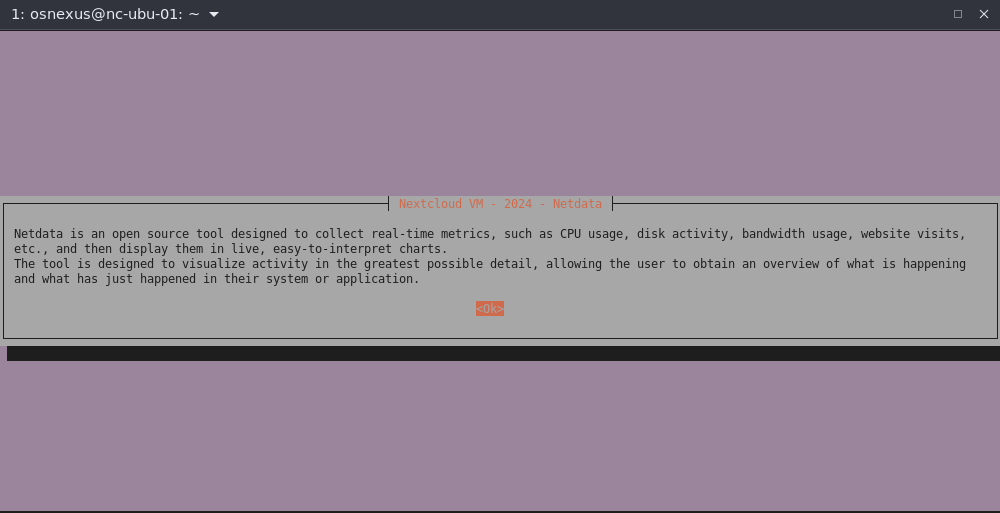
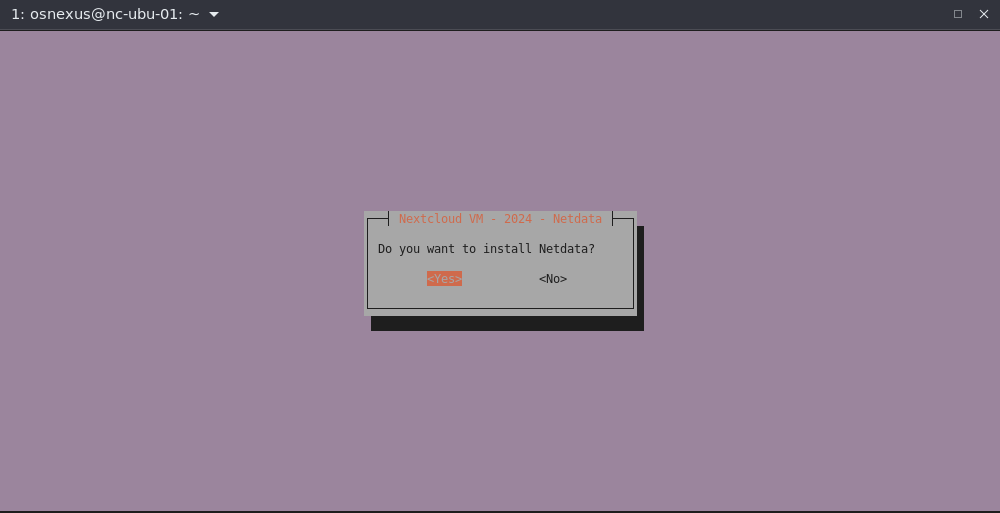
- Install Netdata dialog, Yes.
- Netdata installer messages pause, Press any key…
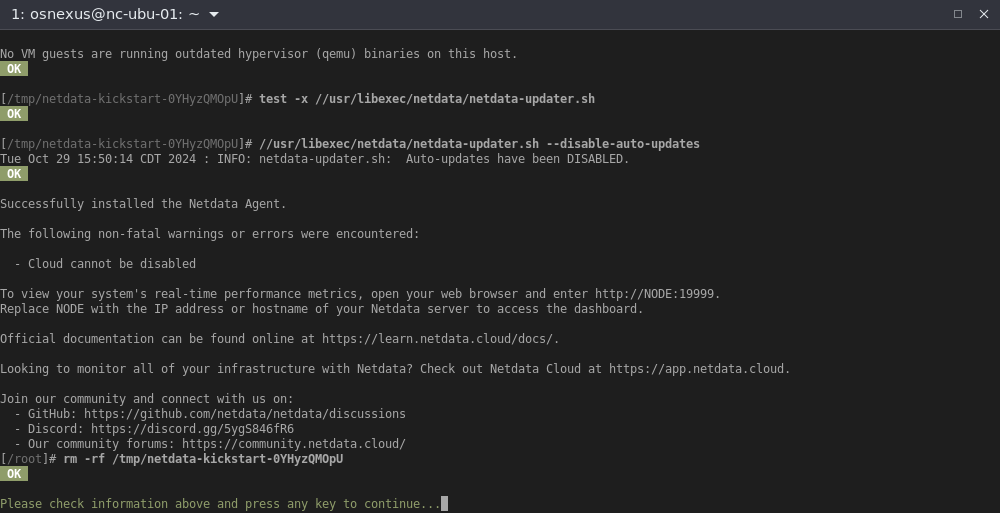
- Netdata successfully installed dialog, OK.
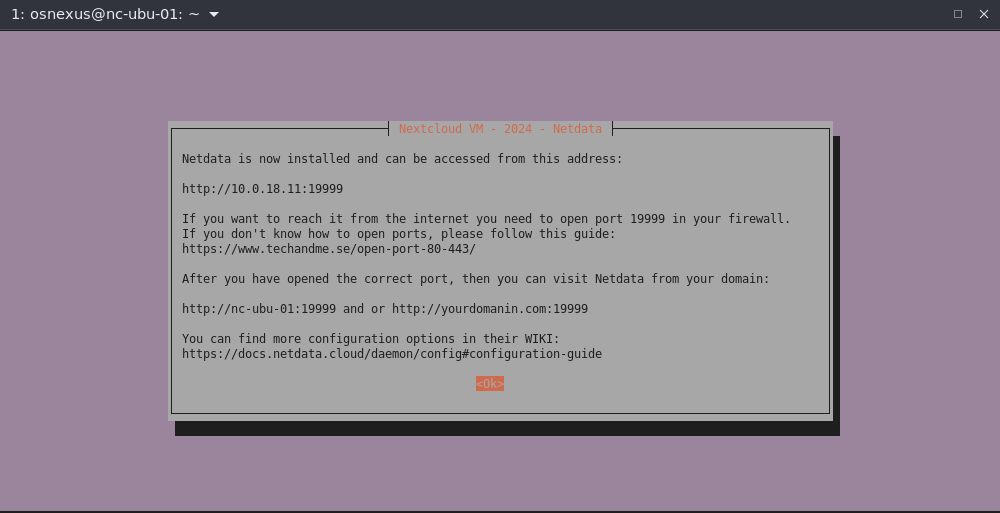
Netdata can be reached athttp://<ip | fqdn>:19999(Note the HTTP).
- Webmin overview dialog, OK.

- Install Webmin dialog, Yes.

- Webmin successfully installed dialog, OK.
Webmin can be reached athttps://<ip | fqdn>:10000.

- Web Admin user setup dialog, OK.
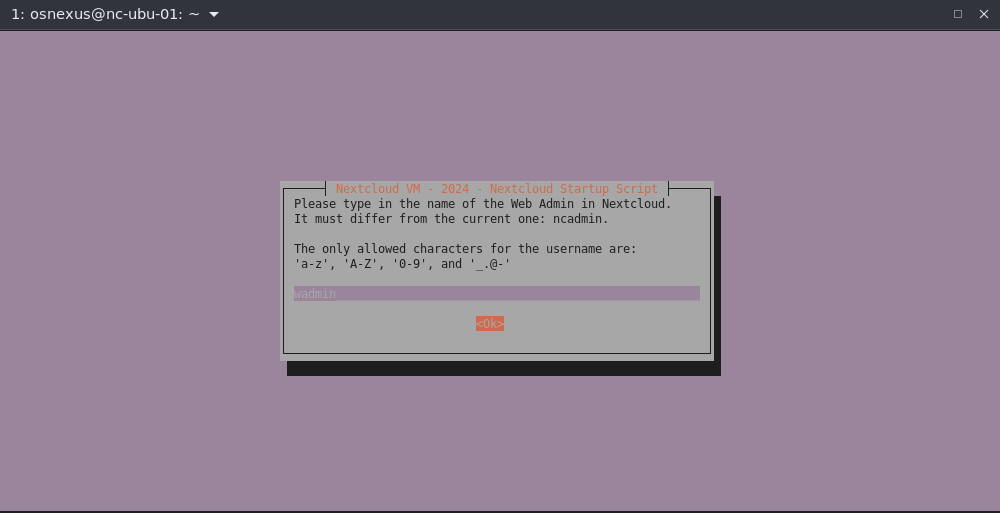
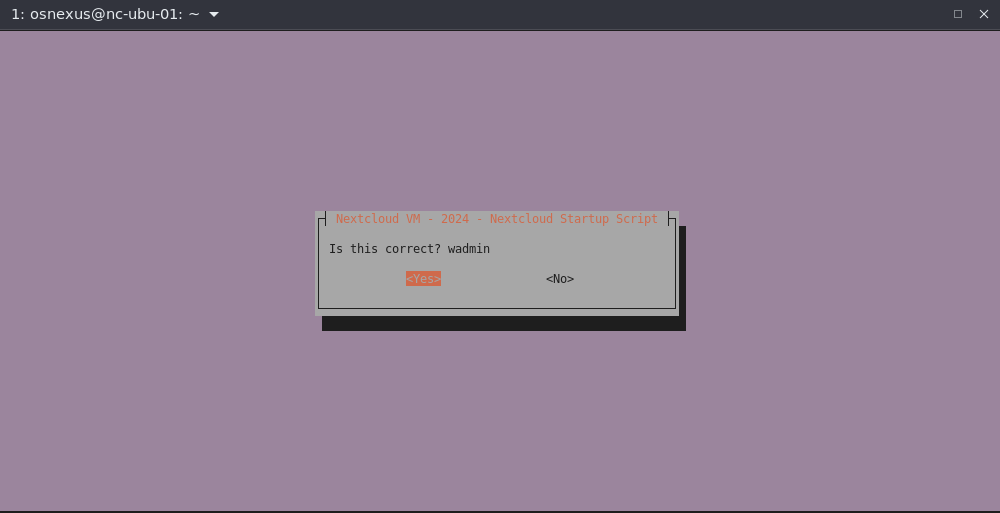
- Username dialog, enter “wadmin”, OK.
- Correct dialog, Yes.
- Password dialog, enter “qadminqadmin” or your own password (DON’T FORGET IT!!!), OK.

- Correct dialog, Yes.

- Web Admin info dialog, OK.

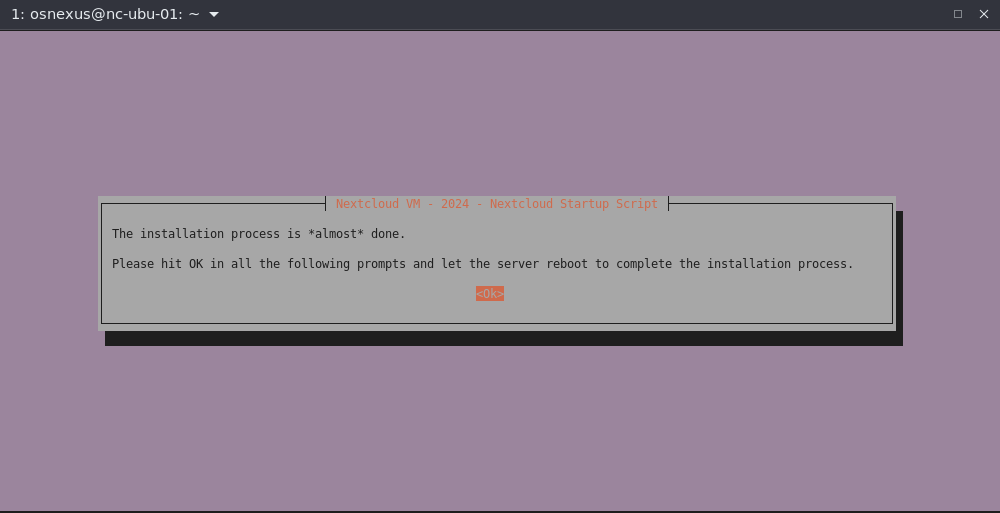
- Finishing up dialog, OK.

- Getting really close… OK
- “And now a word from our sponsors…”, OK, OK, OK.


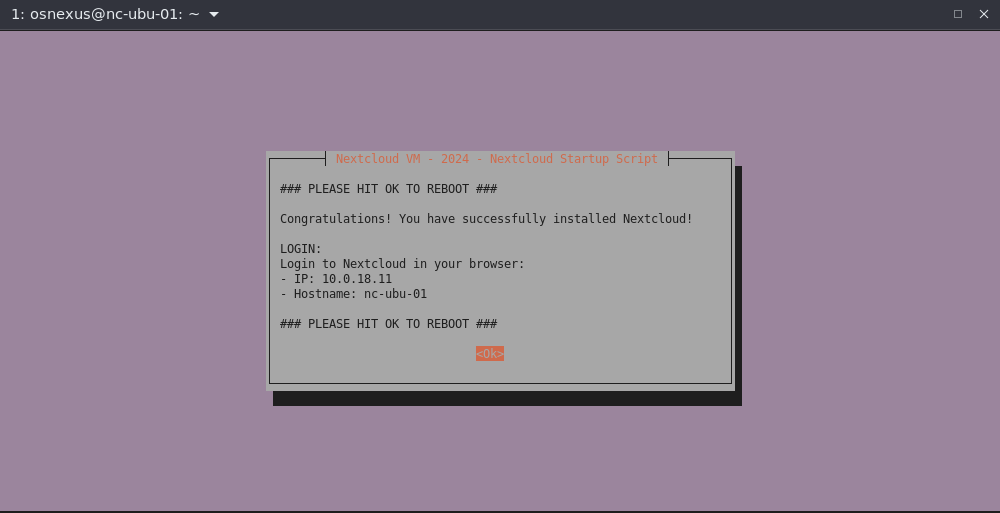
Final success dialog, OK.
After Installation
When you connect to your Nextcloud instance again with SSH you’ll get an error that it has a different host key. This is expected. My warning is below, but different platforms may have slightly different errors. You’ll need to remove the line from the known_hosts file in order to proceed. I believe the ssh-keygen command in the error will work on all platforms. Worst case, manually open your known_hosts file (typically in $HOME/.ssh/known_hosts), find the line with the same IP address as your node and delete that line. You should be good to connect again.
$ ssh osnexus@10.0.18.11
@@@@@@@@@@@@@@@@@@@@@@@@@@@@@@@@@@@@@@@@@@@@@@@@@@@@@@@@@@@
@    WARNING: REMOTE HOST IDENTIFICATION HAS CHANGED!     @
@@@@@@@@@@@@@@@@@@@@@@@@@@@@@@@@@@@@@@@@@@@@@@@@@@@@@@@@@@@
IT IS POSSIBLE THAT SOMEONE IS DOING SOMETHING NASTY!
Someone could be eavesdropping on you right now (man-in-the-middle attack)!
It is also possible that a host key has just been changed.
The fingerprint for the ED25519 key sent by the remote host is
SHA256:4c7/OFhYhapWZb1MduDV5LWT36ZprB2vSewO06eQSYw.
Please contact your system administrator.
Add correct host key in /home/jordahl/.ssh/known_hosts to get rid of this message.
Offending ED25519 key in /home/jordahl/.ssh/known_hosts:114
  remove with:
  ssh-keygen -f "/home/jordahl/.ssh/known_hosts" -R "10.0.18.11"
Host key for 10.0.18.11 has changed and you have requested strict checking.
Host key verification failed.
We’re not going to log back into the CLI, but take note that of the following locations for when you need to do something at the CLI:
- The install directory is /var/www/nextcloud
- The config directory is /var/www/nextcloud/config
- The main config file is /var/www/nextcloud/config/config.php
- Scripts are found in /var/scripts
- The main script to change supported configurations and update Nextcloud is menu.sh and can be run as root like this:
- sudo bash /var/scripts/menu.sh
- The main script to change supported configurations and update Nextcloud is menu.sh and can be run as root like this:
Nextcloud Configuration
It’s time to login to your new Nextcloud instance for the first time.
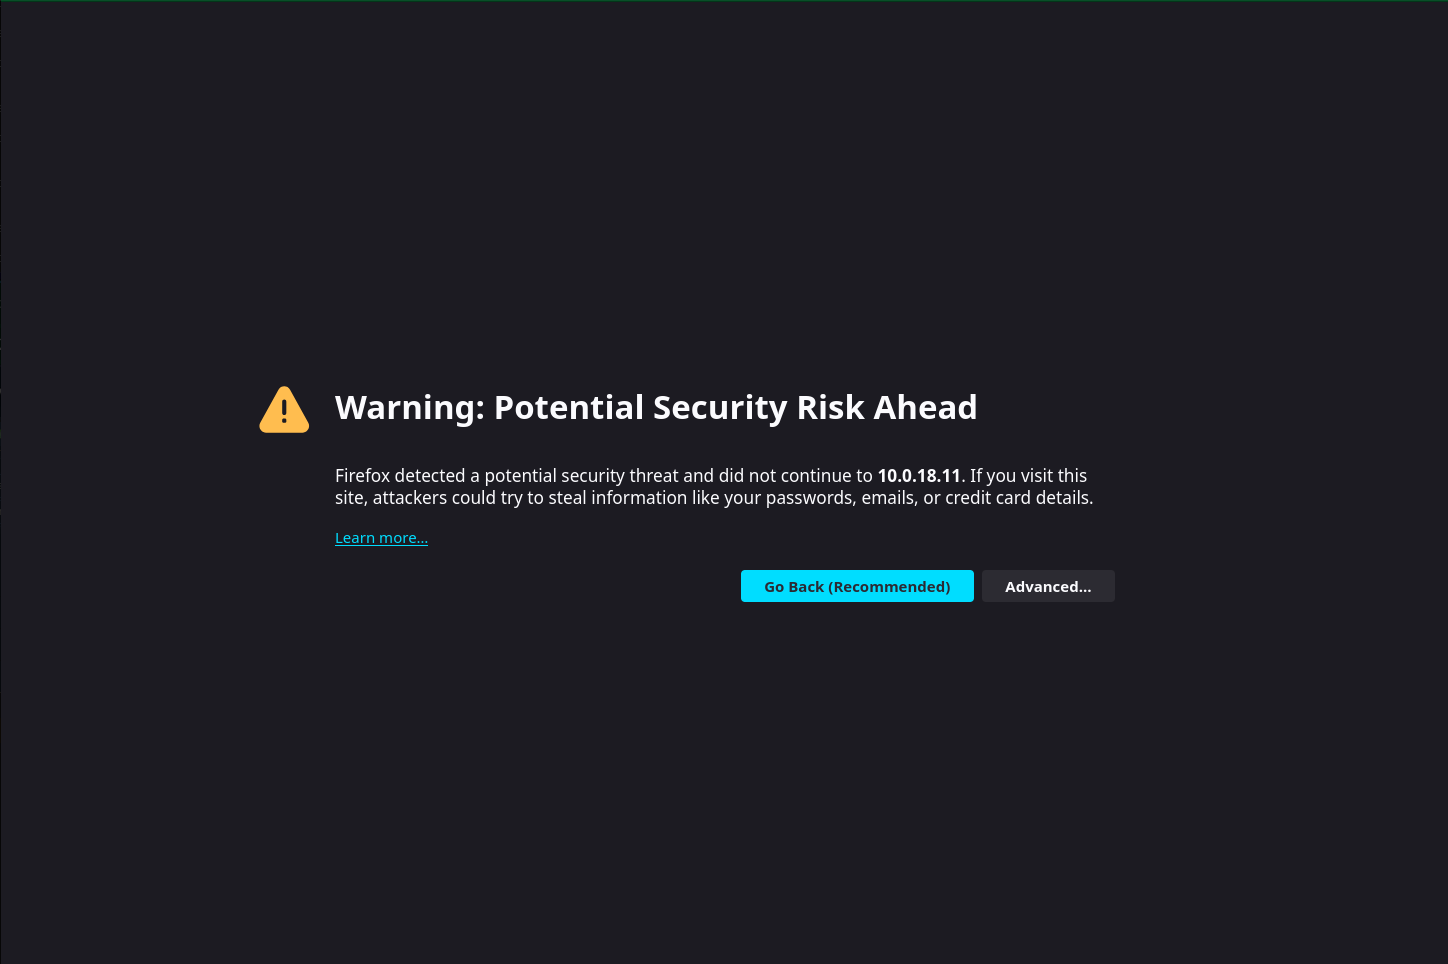
- When you navigate your browser to
https://<ip | fqdn>(note HTTPS) you’ll immediately get the potential security risk warning. It appears differently in each browser, but in all cases you want to accept the risk and make the connection. In Firefox, you click the Advanced button and click Accept the Risk and Continue.

- Login with the wadmin credentials you set during the install.

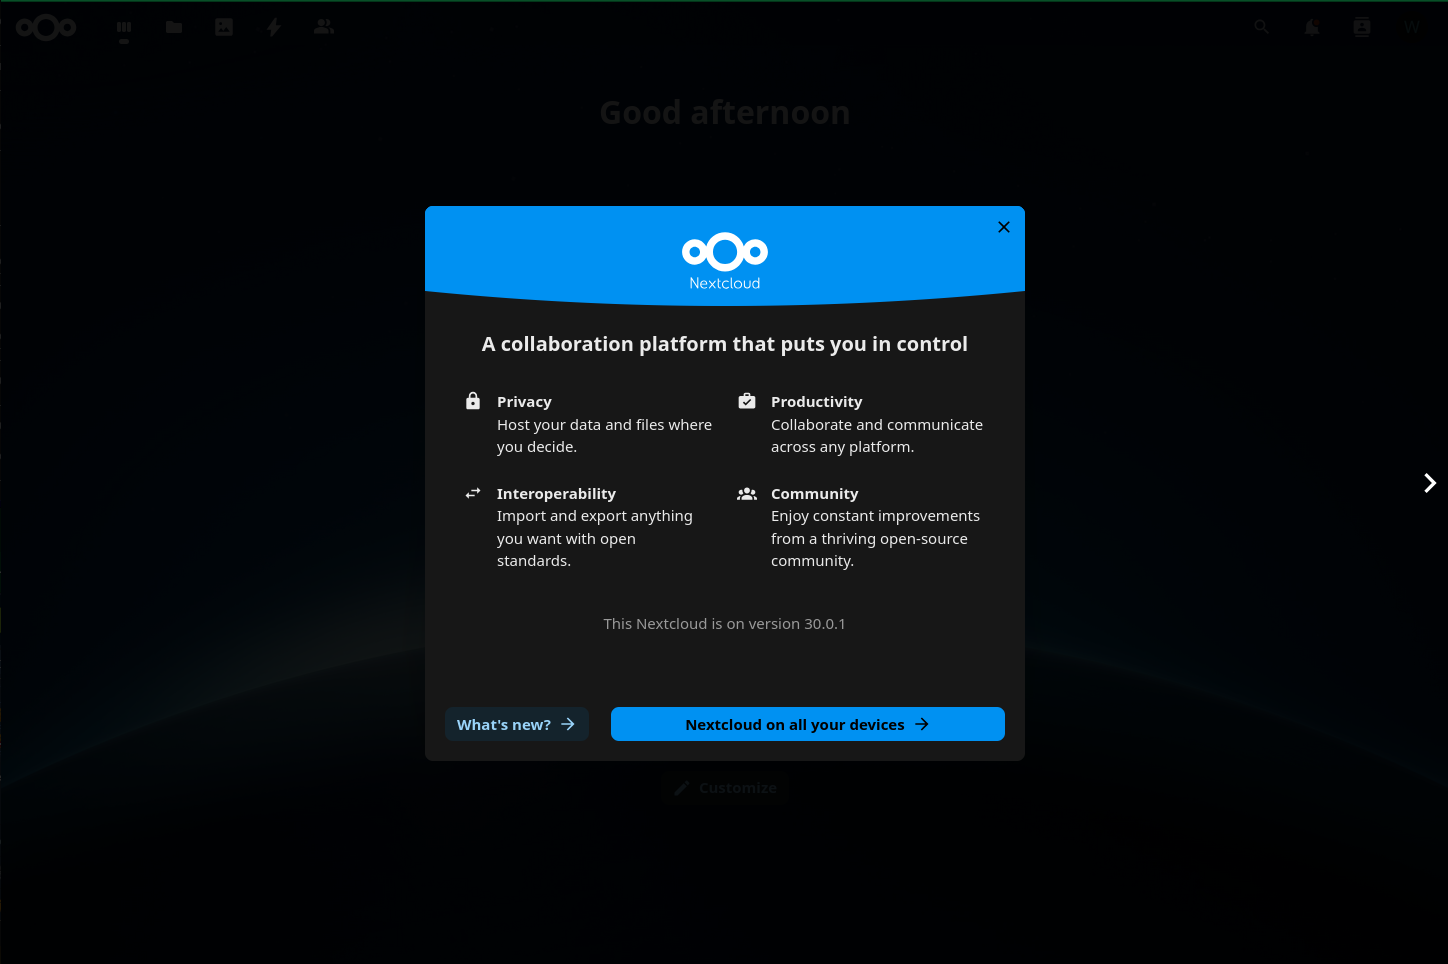
- You’ll be greated with an intro screen that you can either go through or close with the X in the top right of the dialog.
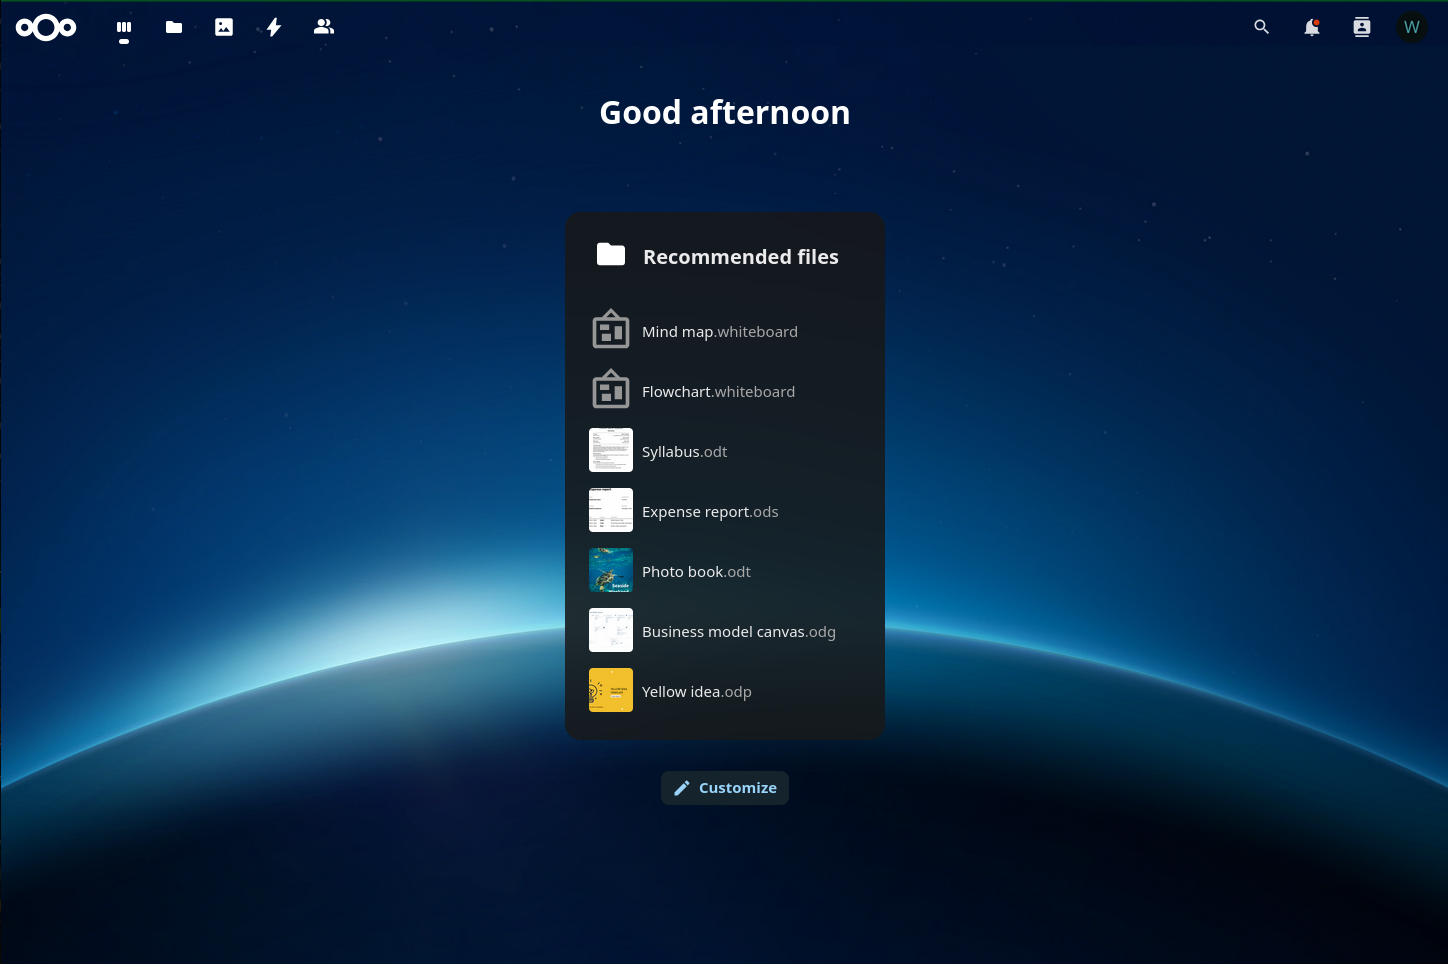
- This takes you to the Dashboard. You’re able to customize this to your liking, but we won’t be doing it in this activity.
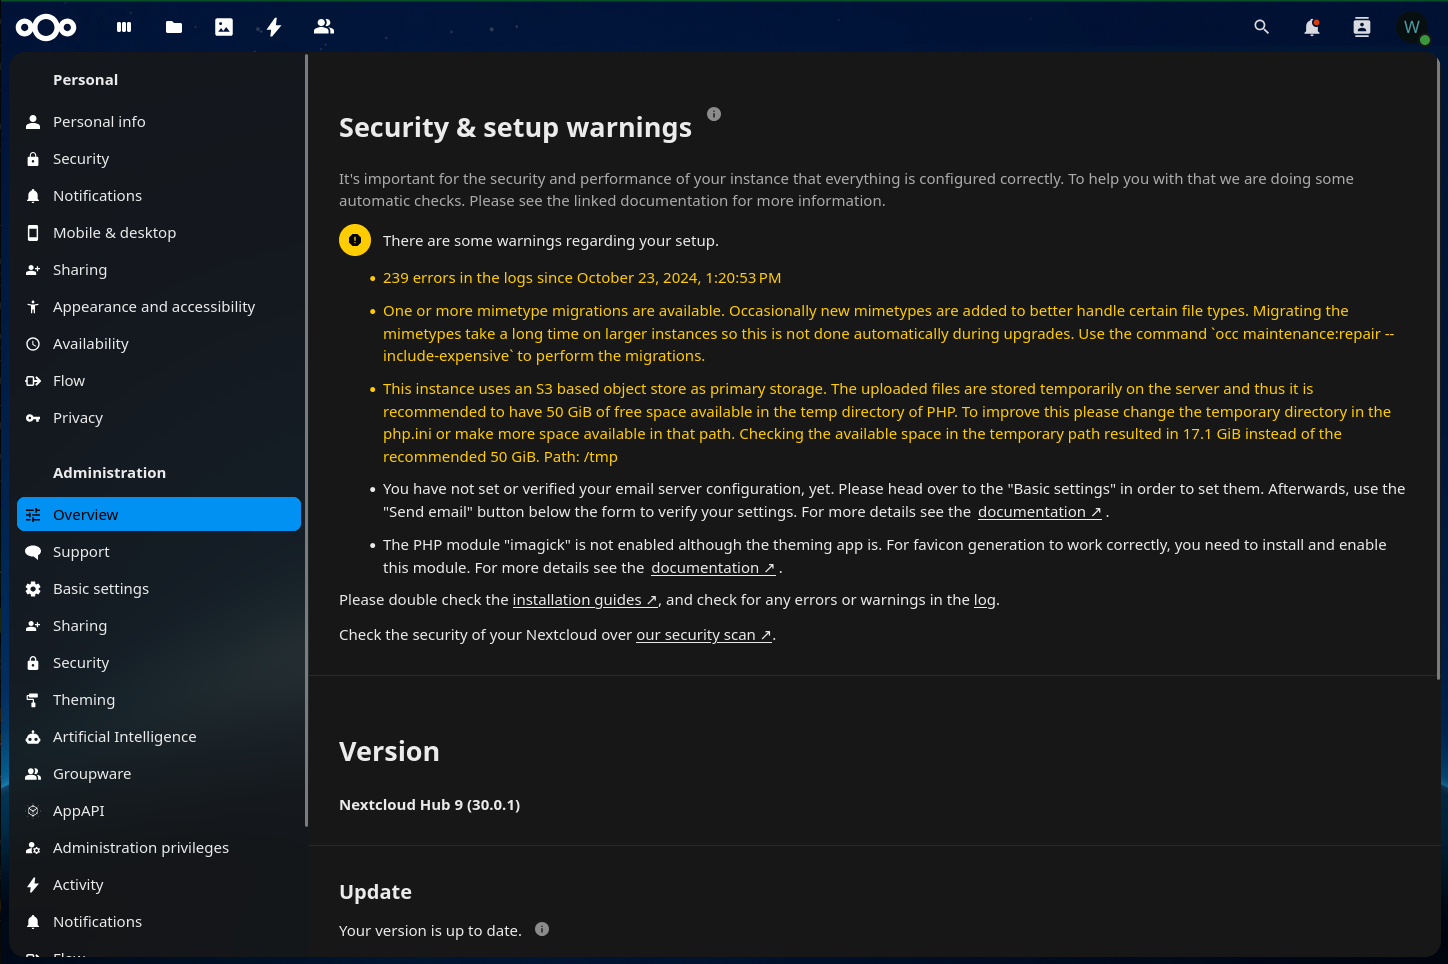
- In the top-right corner of the page you will see a letter in a circle. Because I used the username “wadmin”, my circle has a “W” in it. I’ll be referencing clicking on the “W” for the rest of the tutorial, but know that if you’ve named the admin account something else it will be a different letter.
Clicking the “W” in the top-right corner of the page and selecting Administration settings brings up the Administration Overview page. On this page you’ll first notice at the bottom that your Nextcloud version is up to date. Once the security scan completes it will also show errors and warnings that it finds in your setup. The one that I’ll call out is the one regarding using, “S3 based object storage as primary storage.” Since I used a 30G volume for install, there’s only 17G of storage left for temp storage. For production you would add a second volume >= 50G and mount it on /tmp. Also, this brings up the topic of file upload size limits. Take a look at this link to make the modifications to allow for files > 512M if your use case requires it.
- Since updating Nextcloud is not required, let’s move on to configuring email. In the navigation pane on the left, select Personal info under the Personal heading and add your email address to the email field on the right. The data is immediately saved when you leave the field, so there’s no save action/button required.

- Select Basic settings under Administration in the navigation pane. Scroll down to Email server and enter your configurations, then click Send email to test. If all goes well you’ll get an email in your Inbox.

- We’re going to need to add some Nextcloud applications to our instance. To do this, click the “W” in the top-right of the window and select Apps. In the navigation pane, click Featured apps. Either scrolling or by using the search functionality at the top, find and enable the following apps:
- External storage support
- Two-Factor TOTP Provider (Optional if you want to enable 2FA)

- Click the “W” in the top-right corner of the page and selecting Administration settings.
(Optional) Enable Two-Factor Authentication
- Select Security under Administration in the navigation pane. There are some good configurations on this page, but I’m going to set Two-Factor Authentication. Enable Enforce two-factor authentication and click Save Changes.
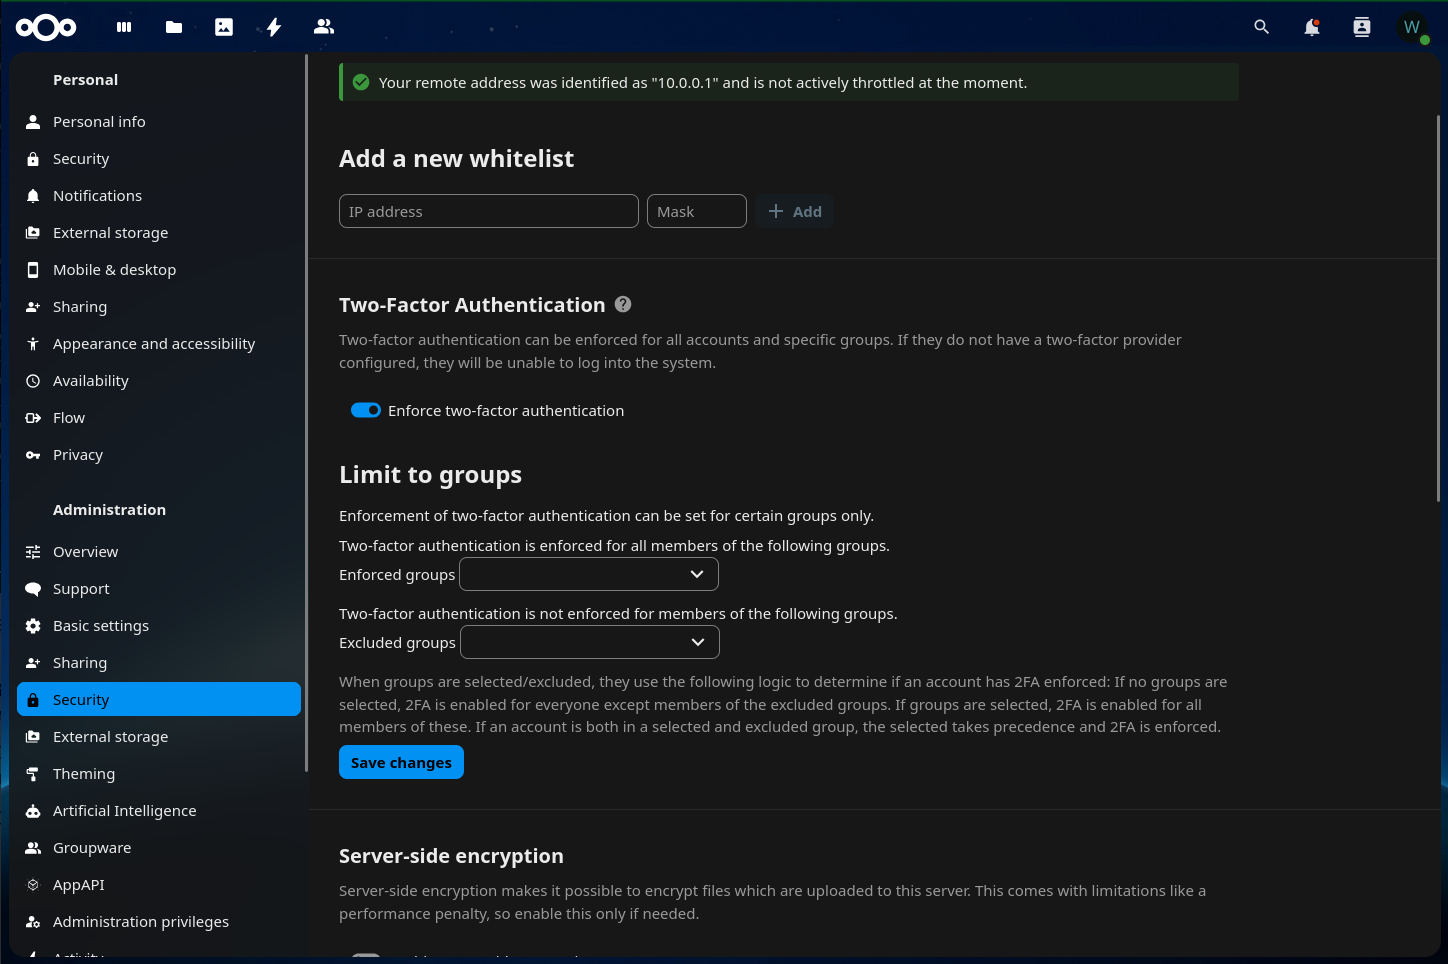
- Select Security under Personal. Check Enable TOTP and add an entry to your 2FA client of choice. I use Google Authenticator.

Configuring External Object Storage
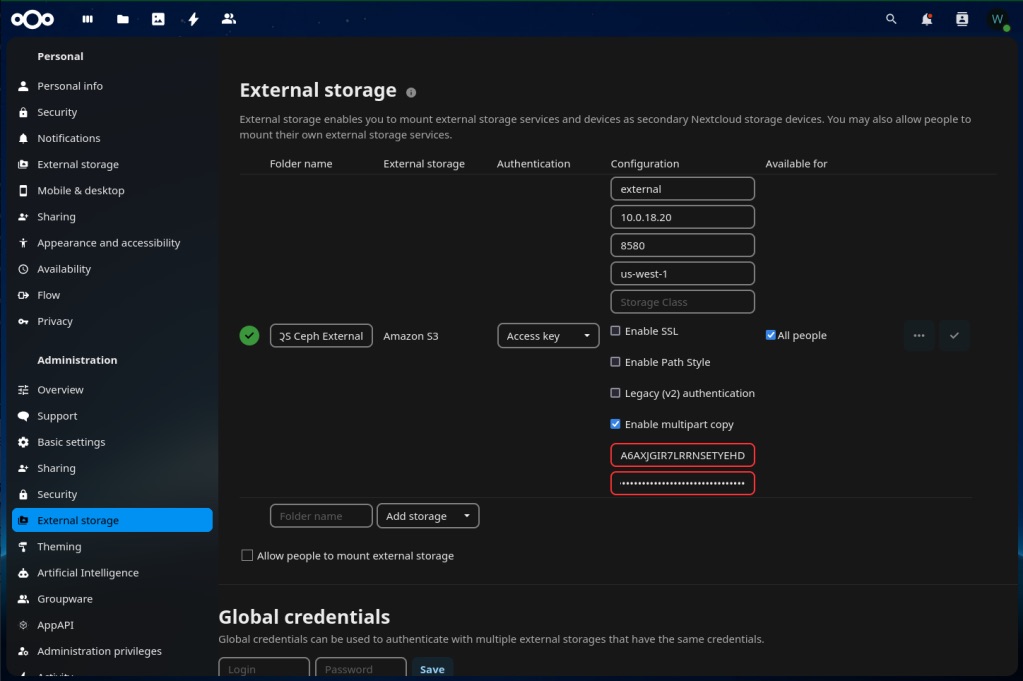
- Select External storage under Administration in the navigation pane. Here we’ll connect Nextcloud to the “external” bucket that we configured earlier.
- Under External storage select Amazon S3
- Change the folder name to QS External
- Set Authentication to Access key
- Click All people under Available for
- Fill out the details under Configuration
- Click the check mark on the right to test and add the storage config.
- The green check mark on the left means your configuration is valid.

- Now let’s test the external storage. In the top-left side of the page, click the third icon over that looks like a folder and is labeled Files.
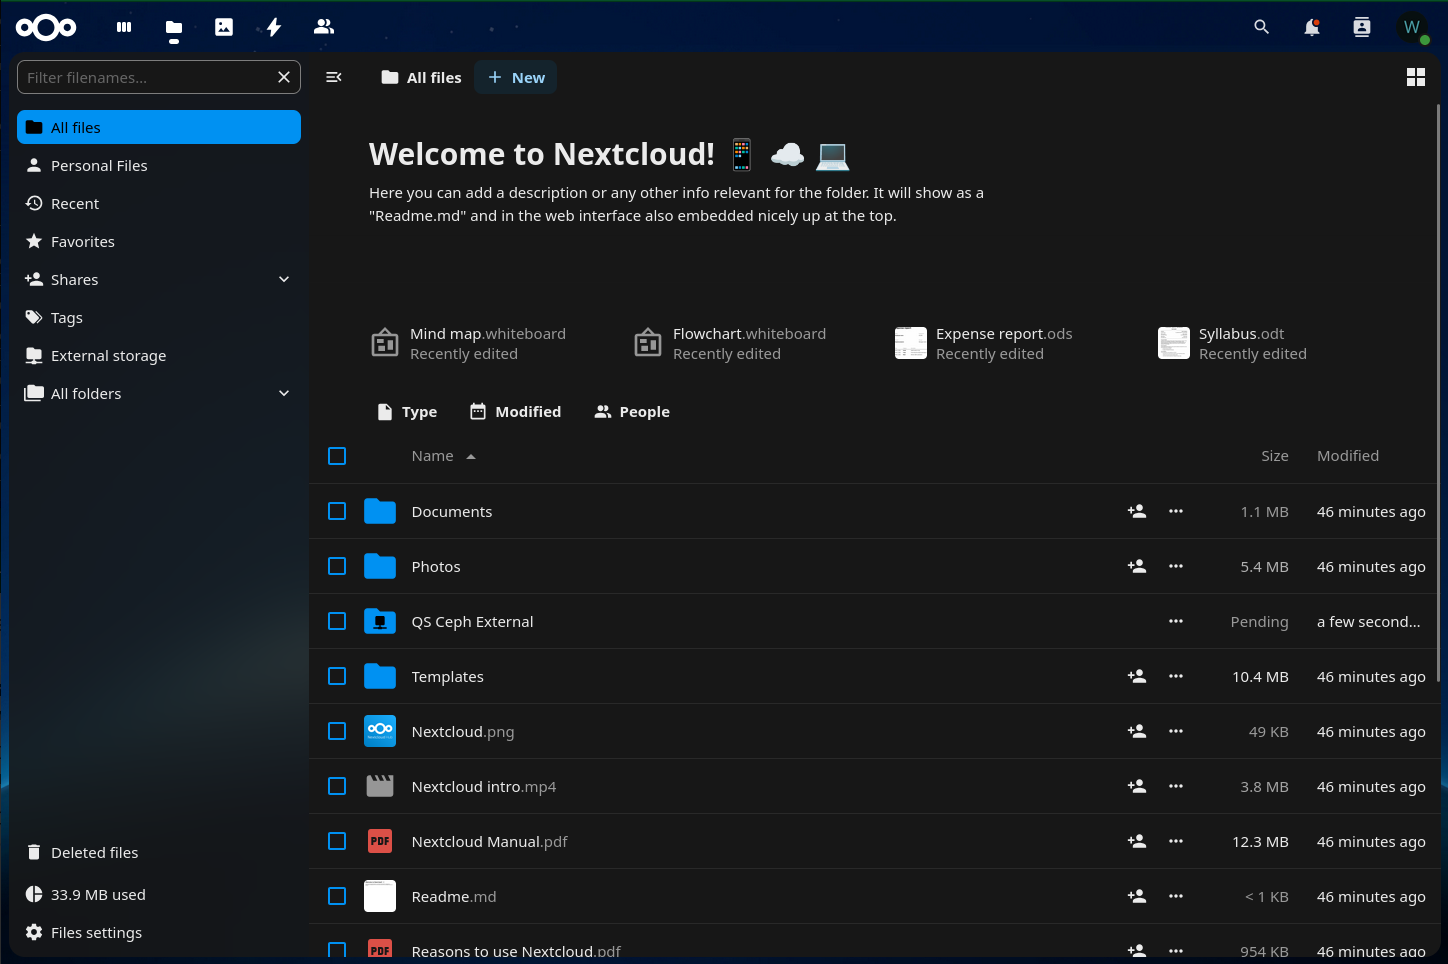
- Now let’s test the external storage. In the top-left side of the page, click the third icon over that looks like a folder and is labeled Files.
- In the content pane you’ll see a folder named QS External. Click on that.
- Click one of the New buttons and upload a couple of relatively small files – a couple that are less than 128K and a couple that are more.
- Leaving the browser alone for a bit, let’s go back to the CLI that you used the AWS CLI in. Run the following command notice the results:
$ aws --profile qsSOOS --endpoint-url http://10.0.18.20:8580 s3 ls primary
2024-10-30 13:15:59      27629 urn:oid:100
2024-10-30 13:15:59        554 urn:oid:101
2024-10-30 13:15:59      14810 urn:oid:102
2024-10-30 13:15:59      52843 urn:oid:103
2024-10-30 13:16:00      30290 urn:oid:104
2024-10-30 13:16:00      39404 urn:oid:105
2024-10-30 13:16:00      23359 urn:oid:106
...- Now let’s look at the external bucket:
$ aws --profile qsSOOS --endpoint-url http://10.0.18.20:8580 s3 ls external
2024-10-30 14:03:58      41501 Screenshot from 2024-10-29 17-40-06.png
2024-10-30 14:03:58      46842 Screenshot from 2024-10-29 17-40-22.png
2024-10-30 14:03:58      51575 Screenshot from 2024-10-29 17-40-27.png
2024-10-30 14:03:59     319927 Screenshot from 2024-10-30 13-31-48.png
2024-10-30 14:03:59     295975 Screenshot from 2024-10-30 13-36-13.png
2024-10-30 14:03:59 295143 Screenshot from 2024-10-30 13-43-14.png- The difference between the two is very important to understand and account for. For the primary bucket, Nextcloud maintains the filesystem hierarchy in its database and therefore uses the bucket as flat storage (no directories). This highlights the fact that if using object storage as Nextcloud primary storage, properly backing up the database is IMPERATIVE to not losing data!!! Losing the database and trying to recover the files directly from the object store would be difficult and time consuming at best, and if you selected encryption for your files, close to impossible!!!
- External storage, on the other hand, allows the object store to manage the hierarchy.
Remember when we created a second Storage Class and an Auto-tiering rule for the Scale-out Object Storage cluster? Let’s take a look at what that did for us. In the CLI, SSH to one of your QuantaStor nodes:
$ ssh qadmin@10.0.18.21
qadmin@10.0.18.21's password:
…
$ qs-s3util analyze-buckets --endpoint http://10.0.18.21:7480 --accesskey A6AXJGIR7LRRNSETYEHD --secretkey hxBZHv1fqtRo87CqEbGTVCG0Yt25deveIDj6mwBu --bucket-name primary
Bucket           Storage Class    Category            Objects    Utilized
------           -------------    --------            -------    --------
<all-buckets>    <all-classes>    <all-categories>        104    40708868
<all-buckets>    STANDARD         small-256k                5      805407
<all-buckets>    STANDARD         medium-512k               9     3224560
<all-buckets>    STANDARD         medium-1024k              5     3803258
<all-buckets>    STANDARD         medium-2048k              1     1083339
<all-buckets>    STANDARD         large-4m                  4    12285020
<all-buckets>    STANDARD         large-8m                  1     5155877
<all-buckets>    STANDARD         large-16m                 1    12860592
<all-buckets>    STANDARD_IA      tiny-0k                   1           0
<all-buckets>    STANDARD_IA      tiny-4k                  30       45657
<all-buckets>    STANDARD_IA      tiny-8k                   2        9522
<all-buckets>    STANDARD_IA      tiny-16k                 14      178133
<all-buckets>    STANDARD_IA      tiny-32k                 16      409186
<all-buckets>    STANDARD_IA      small-64k                11      501818
<all-buckets>    STANDARD_IA      small-128k                4      346499
primary          <all-classes>    <all-categories>        104    40708868
primary          STANDARD         <all-categories>         26    39218053
primary          STANDARD         small-256k                5      805407
primary          STANDARD         medium-512k               9     3224560
primary          STANDARD         medium-1024k              5     3803258
primary          STANDARD         medium-2048k              1     1083339
primary          STANDARD         large-4m                  4    12285020
primary          STANDARD         large-8m                  1     5155877
primary          STANDARD         large-16m                 1    12860592
primary          STANDARD_IA      <all-categories>         78     1490815
primary          STANDARD_IA      tiny-0k                   1           0
primary          STANDARD_IA      tiny-4k                  30       45657
primary          STANDARD_IA      tiny-8k                   2        9522
primary          STANDARD_IA      tiny-16k                 14      178133
primary          STANDARD_IA      tiny-32k                 16      409186
primary          STANDARD_IA      small-64k                11      501818
primary          STANDARD_IA      small-128k                4      346499

Completed analysis of '1' buckets, empty buckets excluded from report.

Writing '34' report entries to output file 'qs-s3-bucket-report.txt'
$ qs-s3util analyze-buckets --endpoint http://10.0.18.21:7480 --accesskey A6AXJGIR7LRRNSETYEHD --secretkey hxBZHv1fqtRo87CqEbGTVCG0Yt25deveIDj6mwBu --bucket-name external
Bucket           Storage Class    Category            Objects    Utilized
------           -------------    --------            -------    --------
<all-buckets>    <all-classes>    <all-categories>          7     1348103
<all-buckets>    STANDARD         medium-512k               4     1208185
<all-buckets>    STANDARD_IA      small-64k                 3      139918
external         <all-classes>    <all-categories>          7     1348103
external         STANDARD         <all-categories>          4     1208185
external         STANDARD         medium-512k               4     1208185
external         STANDARD_IA      <all-categories>          3      139918
external         STANDARD_IA      small-64k                 3      139918

Completed analysis of '1' buckets, empty buckets excluded from report.

Writing '10' report entries to output file 'qs-s3-bucket-report.txt'
There are a few things to note about this information. First, our auto-tiering rule is working, and from the output you can see that it’s cluster-wide, not by bucket. By not using erasure coding for small files we’re increasing the performance of the storage platform. Next, this information can give you some really good insight to how the buckets are being used, which gives you the opportunity to fine-tune further.
Other Goodies
During our install we had the Nextcloud installer add a few additional tools to the system.
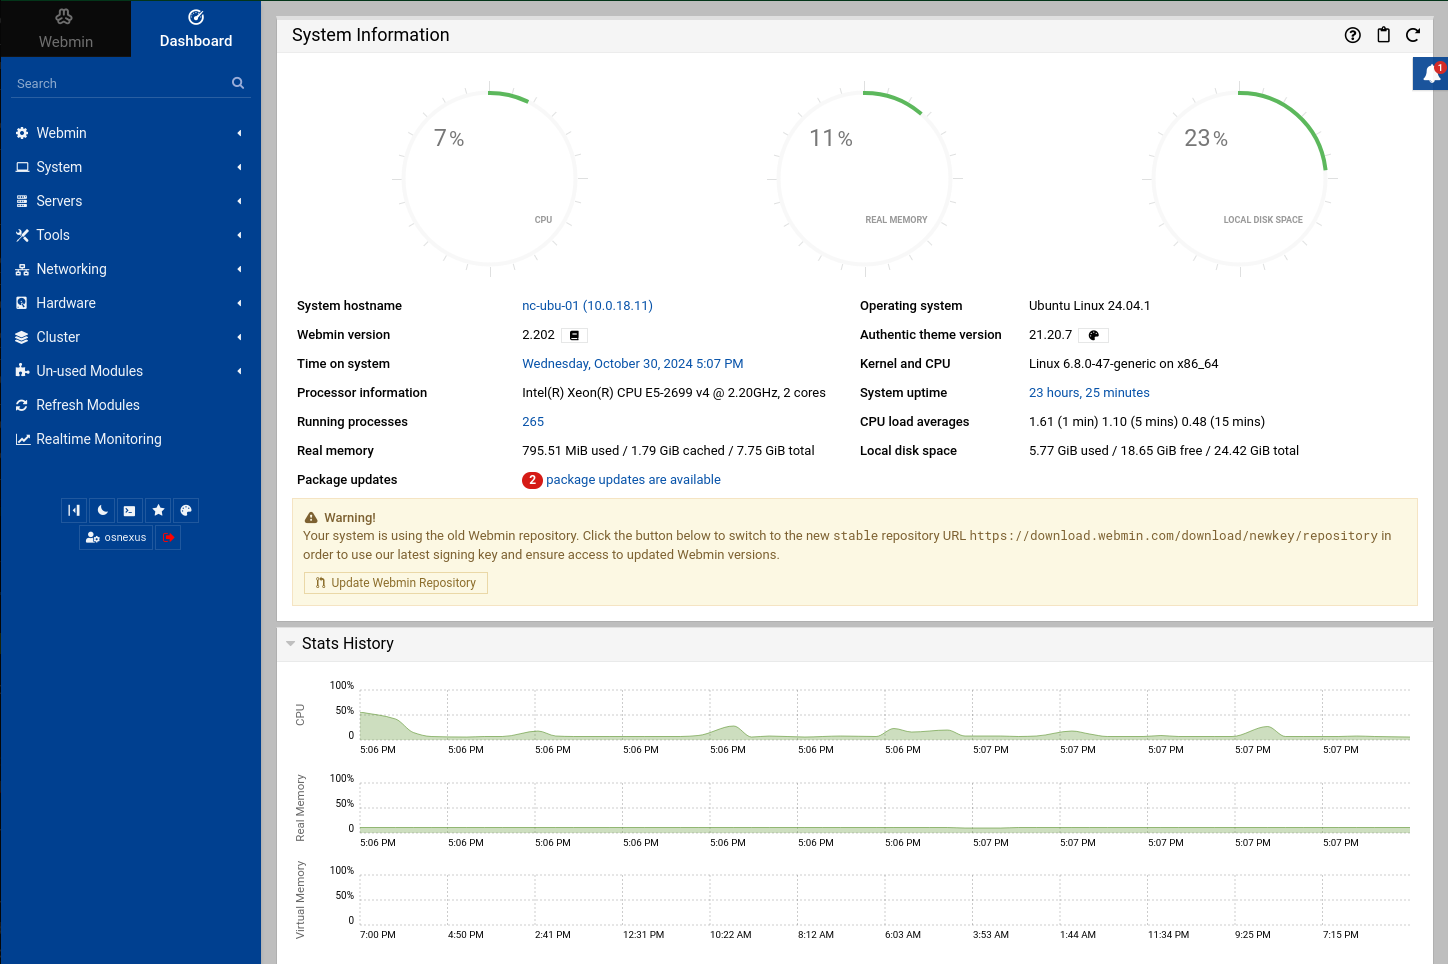
Webmin
Webmin is a web-based server management control panel for Unix-like systems. If you installed it during the install process it can be accessed from this address: https://<ip | fqdn>:10000
It uses a self-signed certificate, so you’ll need to bypass the warning. You use the Linux user accounts to login.

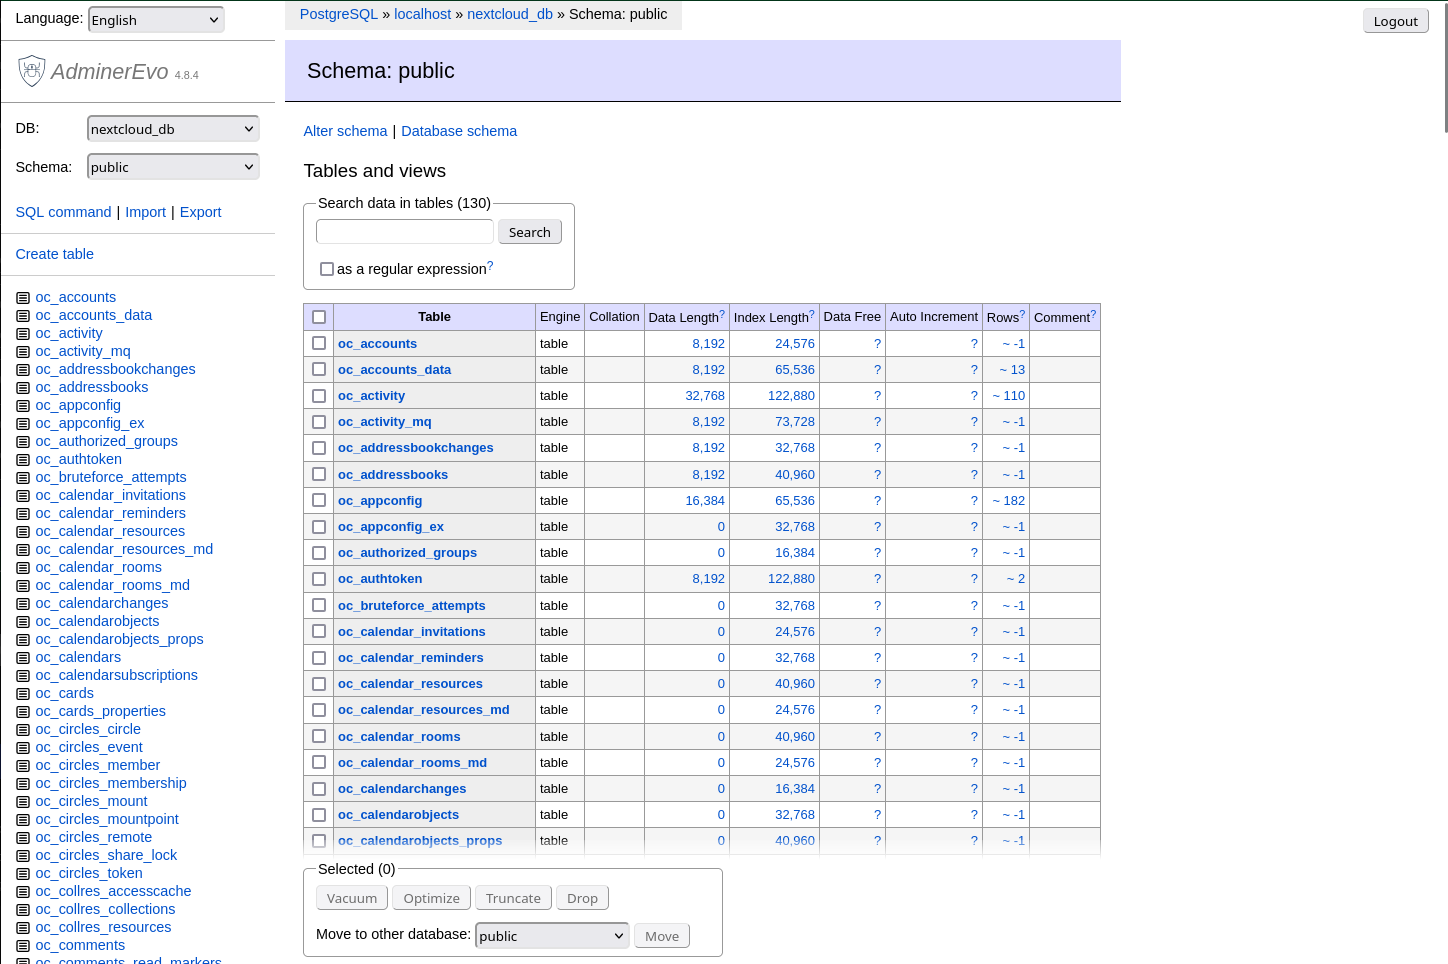
Adminer
Adminer (formerly known as phpMinAdmin) is a tool for managing content in databases. It natively supports MySQL, MariaDB, PostgreSQL, SQLite, MS SQL, Oracle, Elasticsearch and MongoDB. In our case, we’re managing PostgreSQL, and to be clear, the PostgreSQL plugin is the only one that was installed. If you installed it during the install process it can be accessed from this address: https://<ip | fqdn>:9443
It uses a self-signed certificate, so you’ll need to bypass the warning. You use the database account to login which was created during the install process and can also be found in the Nextcloud config.php file. Make sure you actually type in “localhost” for the Server field (the hint looks like it’s a default value, but it’s not).

Netdata
Netdata is a partially open source tool designed to collect real-time metrics, such as CPU usage, disk activity, bandwidth usage, website visits, etc., and then display them in live, easy-to-interpret charts. If you installed it during the install process it can be accessed from this address: http://<ip | fqdn>:19999 (note HTTP).

Mobile Clients
Nextcloud provides iOS and Android clients to use with your Nextcloud platform. You’ll either need to make your Nextcloud instance Internet-facing or use a VPN to have access remotely.
Final Words
That was a lot of information!! I hope you find value in using Nextcloud with your QuantaStor platform to increase collaboration and add Internet file sharing capabilities to your bag of tricks!
Useful Resources
- Quantastor:
- Nextcloud:
- Main
- GitHub
- GitHub VM
- Hanssonit “Build your own Nextcloud VM”
- Hanssonit “Publish your server online”
- Additional, potentially useful information/sites:
- deSEC – Modern DNS Hosting for Everyone
- Let’s Encrypt – Free, Automated, and Open Certificate Authority
- fast-apt-mirror
- Netdata – Netdata is a distributed real-time, health monitoring platform
- Webmin – Powerful and flexible web-based server management control panel
- Adminer – Database management in a single PHP file

Leave a comment